Easiest Homemade Bread Recipe Ever

I know, I know…I was skeptical too. Making homemade bread always seemed so complicated and unattainable, but once I finally mustered up the courage to try it, I realized how simple it is (not to mention inexpensive!). They say no-knead bread is “so easy, a 4-year-old could make it” - again, I was skeptical, but it really is. Now it’s become one of our go-to recipes for a normal cozy weeknight dinner or for when guests are coming over. You can do it too - I promise! All you need is a dutch oven or other tightly lidded pot. I use an inexpensive Lodge cast-iron dutch oven for mine, and I love it.
Easiest Homemade Dutch-Oven Bread
Ingredients:
3 cups organic all-purpose flour - or for epic, really crispy crust, use bread flour (my favorite brand is King Arthur)
1 tsp Red Star Active Dry Yeast (in the packets, not from the jar, which has an extra additive)
2 tsp sea salt or kosher salt
1 1/2 cups warm water (not hot, or it can kill the yeast)
(optional) 2 Tbs chopped fresh herbs, like rosemary and thyme - but it’s also perfect without them! (in these photos below, I used herbs in my dough)
Instructions:
1) Measure each cup of flour by filling it to overflowing, then tap the flour mound with the blade of a butter knife to make sure it fills the cup. Use the butter knife to scrape all excess flour off the top of the cup in a straight line. Add all the flour, sea salt, and yeast to a bowl.
2) Add the warm water to the dry mixture, and mix it all with a wooden spoon, scraping the sides of the bowl. (The mixture will be sticky and shaggy - that’s how it’s supposed to look!)
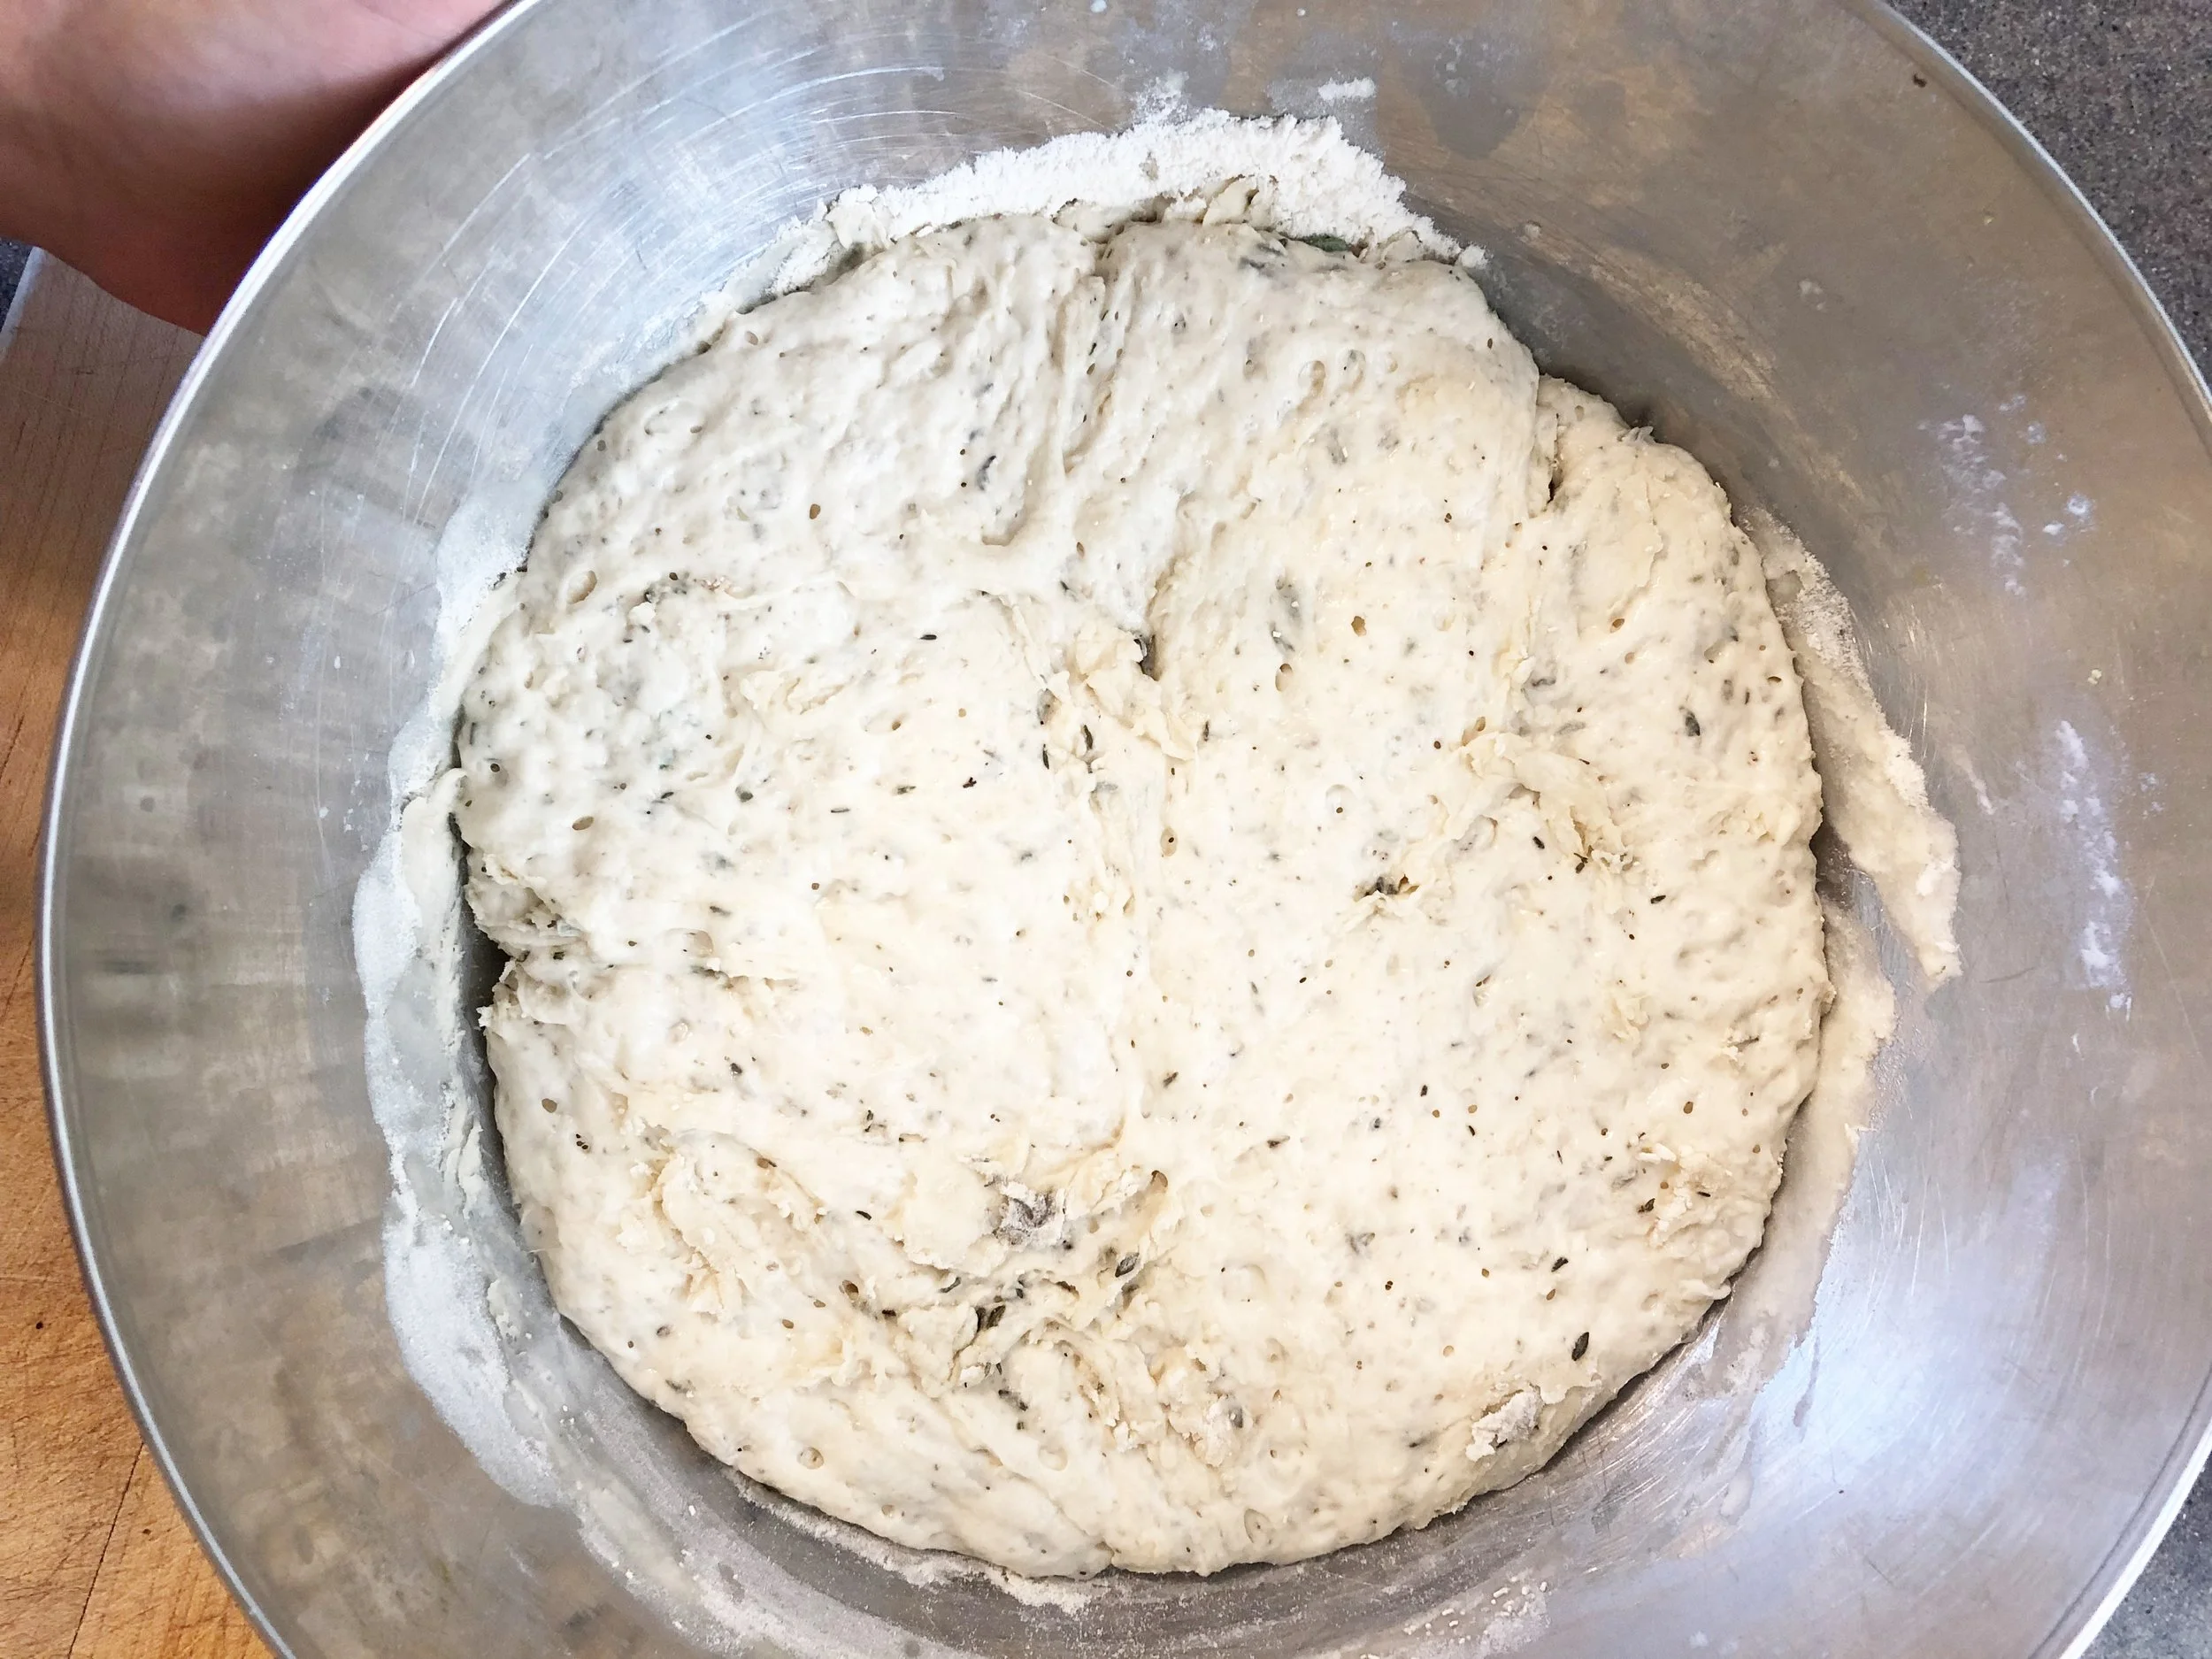
3) Cover the bowl tightly with plastic wrap and let it rise for 6-8 hours. (I’ll often make this dough right before bed and let it rise overnight, then bake it first thing in the morning. Or, I’ve made the dough in the morning and let it rise all day so I can bake it before dinner.) After the first rise, your dough should have doubled in size and should have lots of bubbles. Like this:
4) Preheat your oven to 450 degrees. Place your dutch oven or lidded pot in the oven to get nice and hot.
5) Meanwhile, do the second rise. Take a handful of flour, and sprinkle it on a cutting board so your dough doesn’t stick. Scrape all the dough from the bowl onto the board (keep the bowl - you’ll need it again!). The dough will be sticky. Sprinkle flour on top, take a flap of dough, and fold it over itself, almost like you’re closing an envelope. Keep rotating it and folding it over itself, adding more sprinkles of flour as needed.

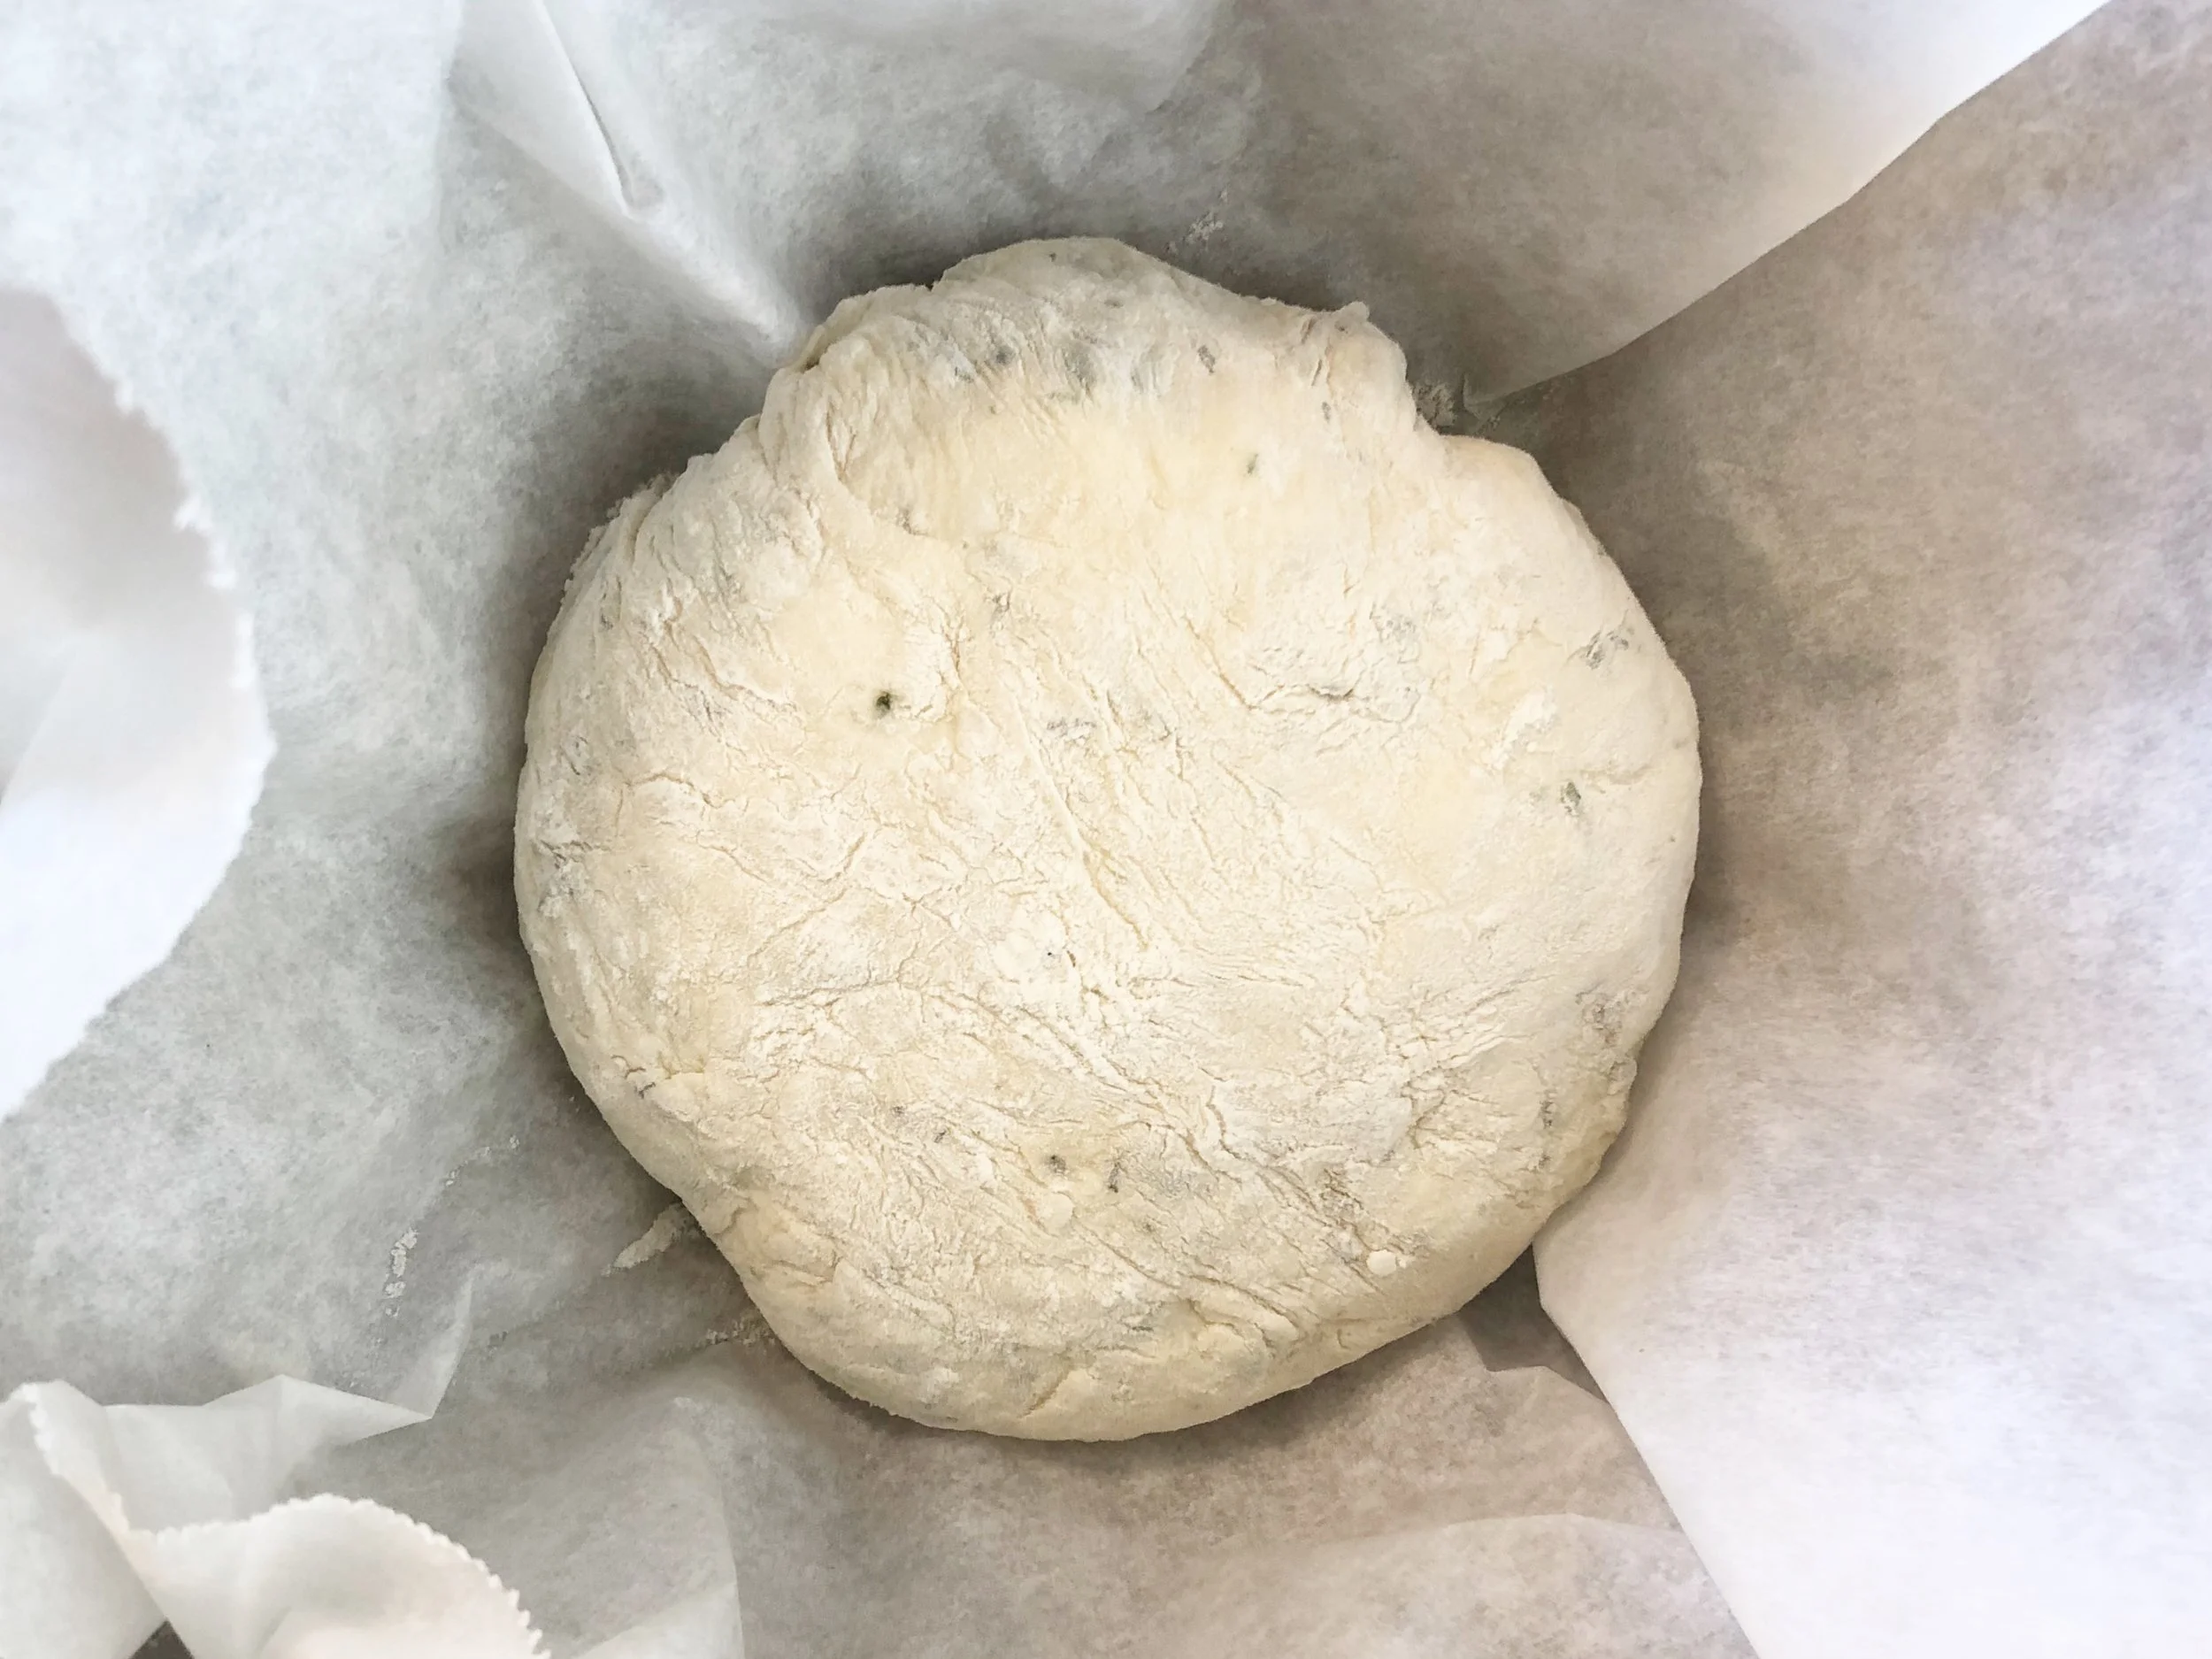
Your dough should feel soft and puffy and no longer sticky. Turn the dough over and you’ll have a lovely ball with all folds hidden underneath.

6) Take a piece of parchment paper and put it inside the bowl you were previously using. Set your dough ball on the parchment paper in the bowl. Cover the bowl lightly with a clean dish towel, not touching the dough.
7) Wait about 30 minutes, and you’re ready to bake it! Open the oven and carefully remove the suuuuper hot lid of your dutch oven. Pick up the parchment paper with the dough ball in it and place the entire thing in the dutch oven. This way, you won’t mess up that perfectly round ball!
8) Place the lid back on the pot. It’s OK if some of the parchment paper sticks out. Bake for 30 minutes at 450. Remove the lid and bake for 15 more minutes until there’s a gorgeous dark brown crust. Remove it from the oven and let cool slightly before cutting. Give yourself a huge pat on the back for MAKING HOMEMADE BREAD ALL BY YOURSELF!

If you come to my house for dinner, it’s pretty likely I’ll be serving you this bread. Try it, and let me know what you think!