My Sourdough Method
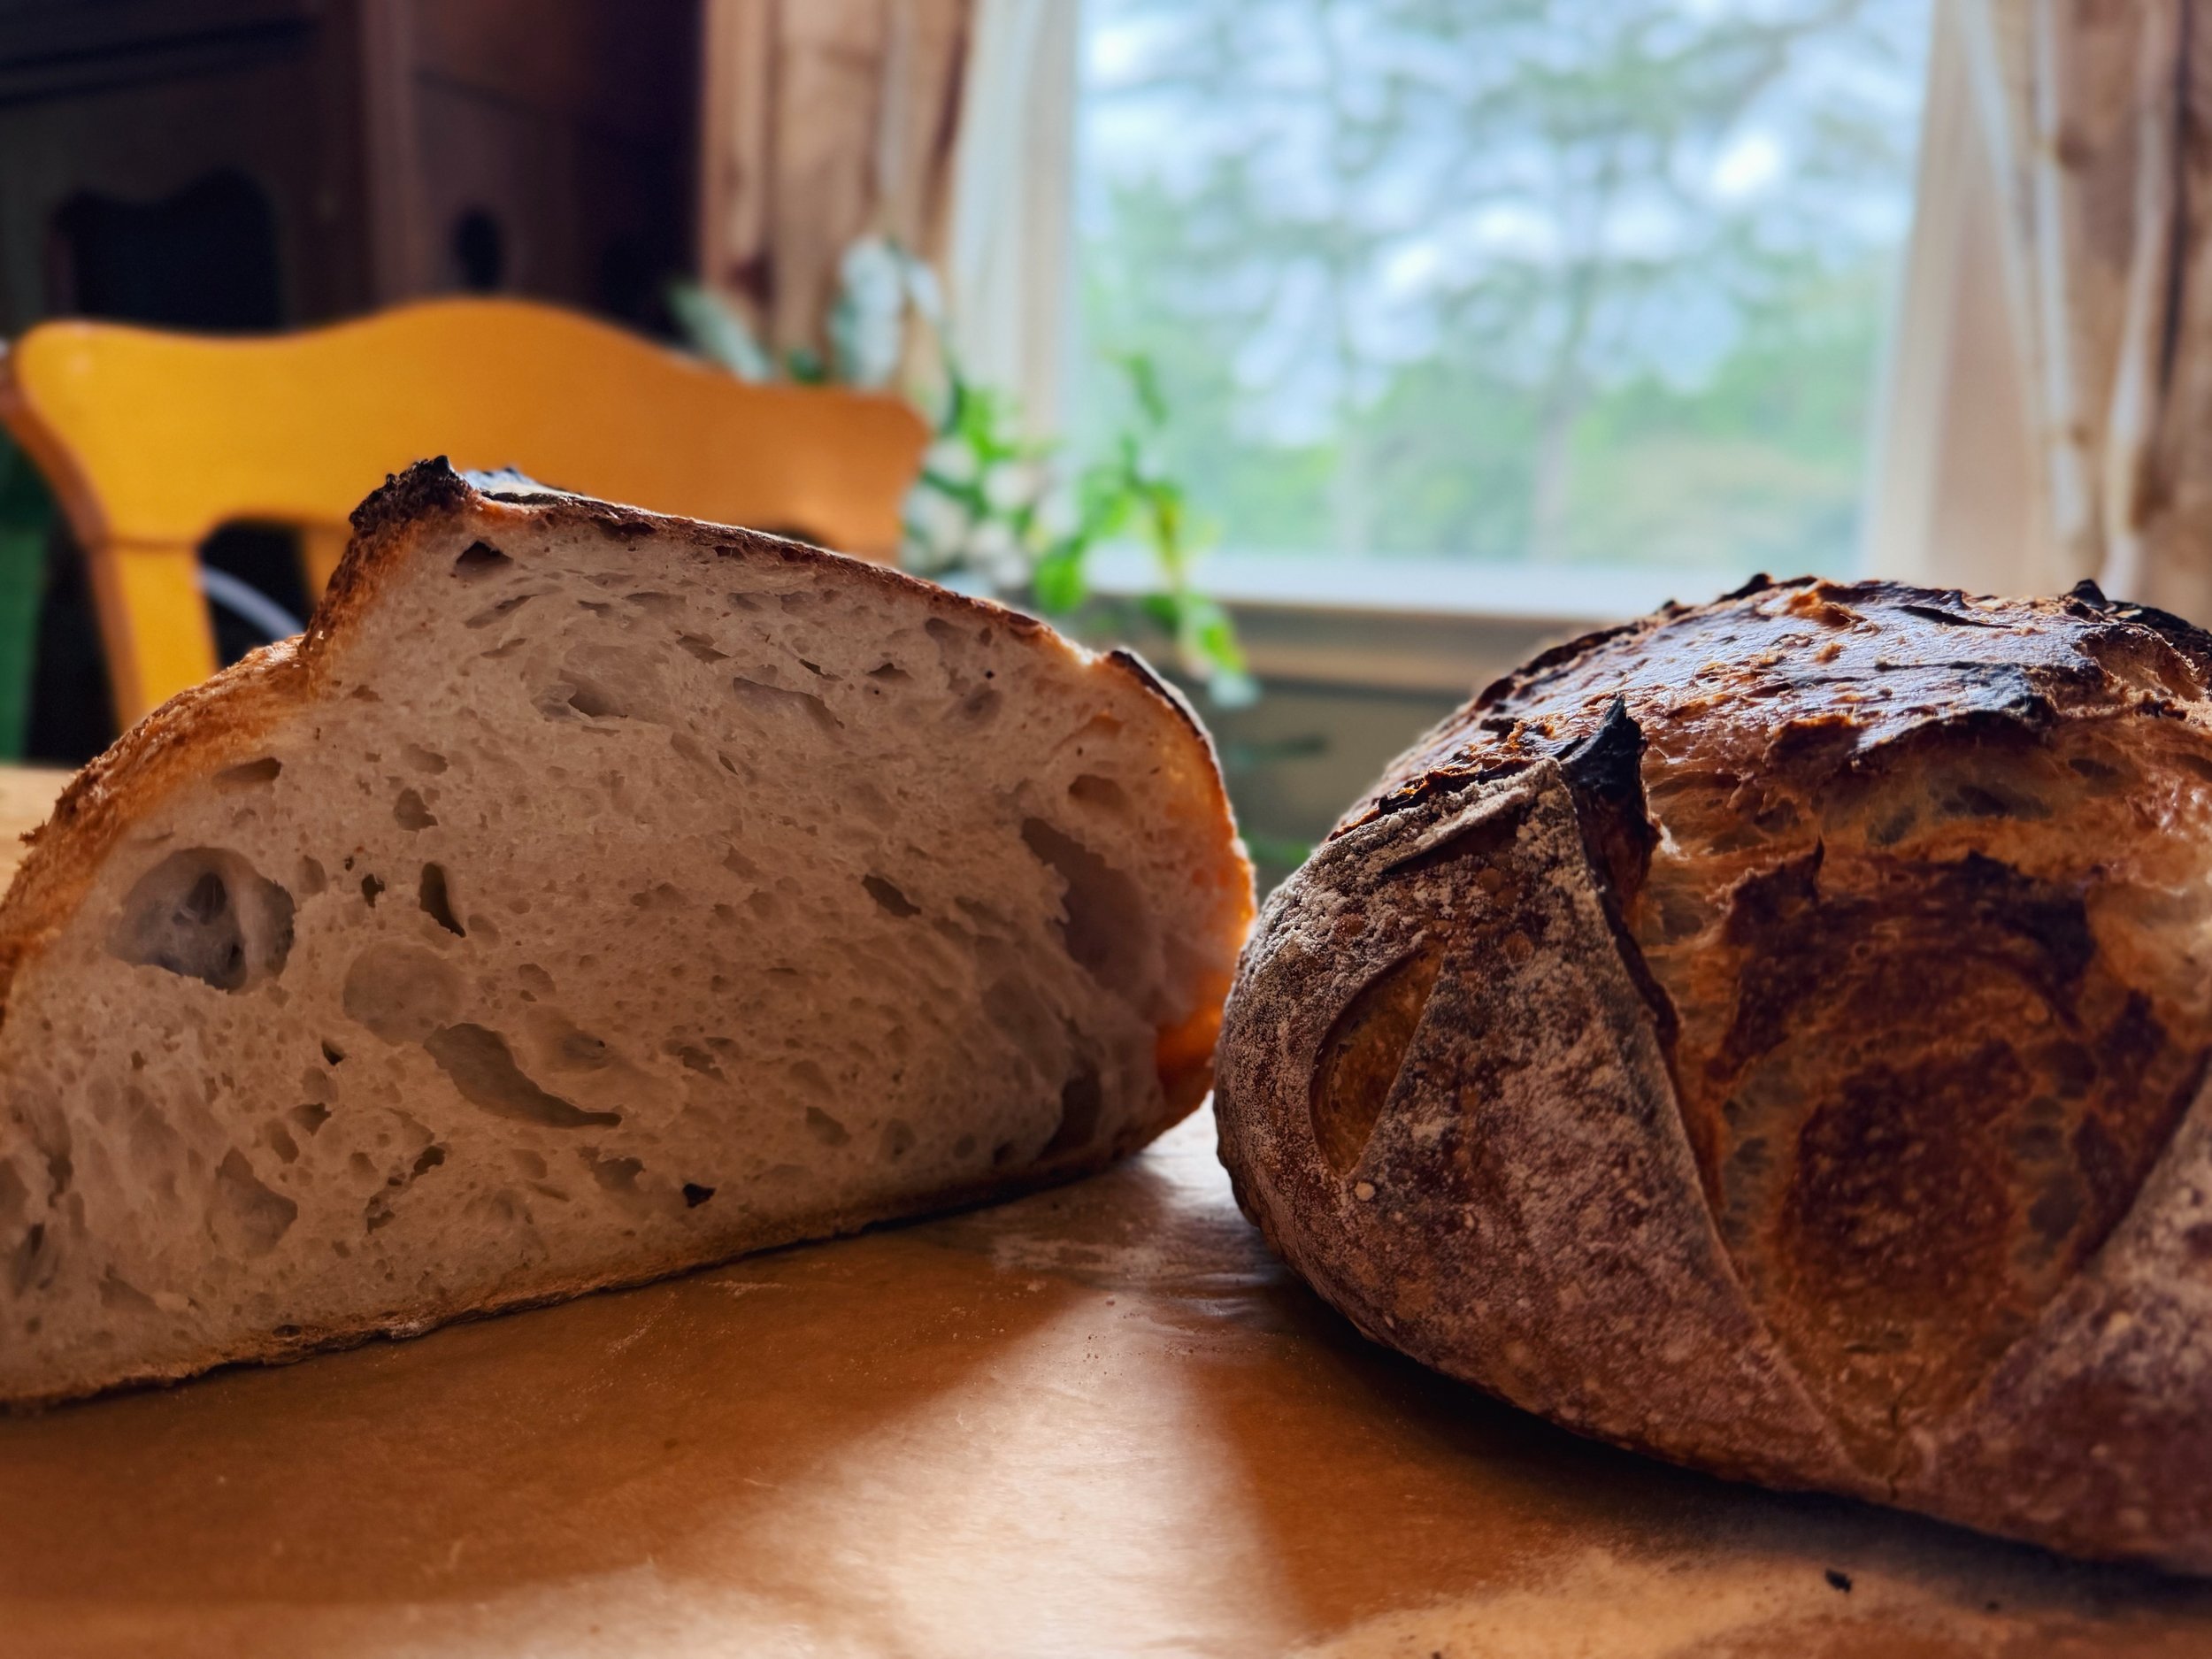
This has been a long time coming. After years of making my own bread with yeast and completely falling in love with the process, I vowed to begin learning the art of sourdough in January 2023. It’s time to finally share the method that works for me. I hope this inspires you to try making sourdough as well! 🤎
Before we begin, here are 2 things I wish I’d known when I dove into making sourdough:
Choose ONE recipe to experiment with. Yes, one. Use only this recipe until you get a decent, edible sourdough loaf! Do not try multiple recipes at once - there will be too many factors in the mix. It’s easy to get overwhelmed with so many different sourdough methods and recipes out there, so trust me and stay focused.
Be patient with yourself. Sourdough making is a science and an art, so be patient and remember it takes time to master. It took me a good 6 months of practicing before I had a gorgeous artisan sourdough boule. I was proud of. Before that, there were the hockey puck shaped loaves, ruined starter, and other failed attempts. It’s ok - your hands will get the hang of it, and then you’ll get to the place where it feels like second nature to care for your starter and instinctually handle bread dough.
My sourdough method is a mish-mash inspired by Culinary Exploration’s No Knead Sourdough Recipe and Kelly Welk’s YouTube channel. I also read Tartine’s Bread Book.
HOW I MAKE ARTISAN SOURDOUGH LOAVES
Timeline:
2 days before baking: Feed starter at night before going to bed.
1 day before baking: Make bread dough in the morning using active starter and proof all day. Place in fridge overnight for final cold proof (see instructions below).
Baking day: Get dough out of the fridge in the morning and bake!
Ingredients:
180g active starter
520g water
780g organic bread flour (I prefer King Arthur Organic Bread Flour)
18g sea salt
Rice flour (or all purpose flour), for sprinkling into the baskets
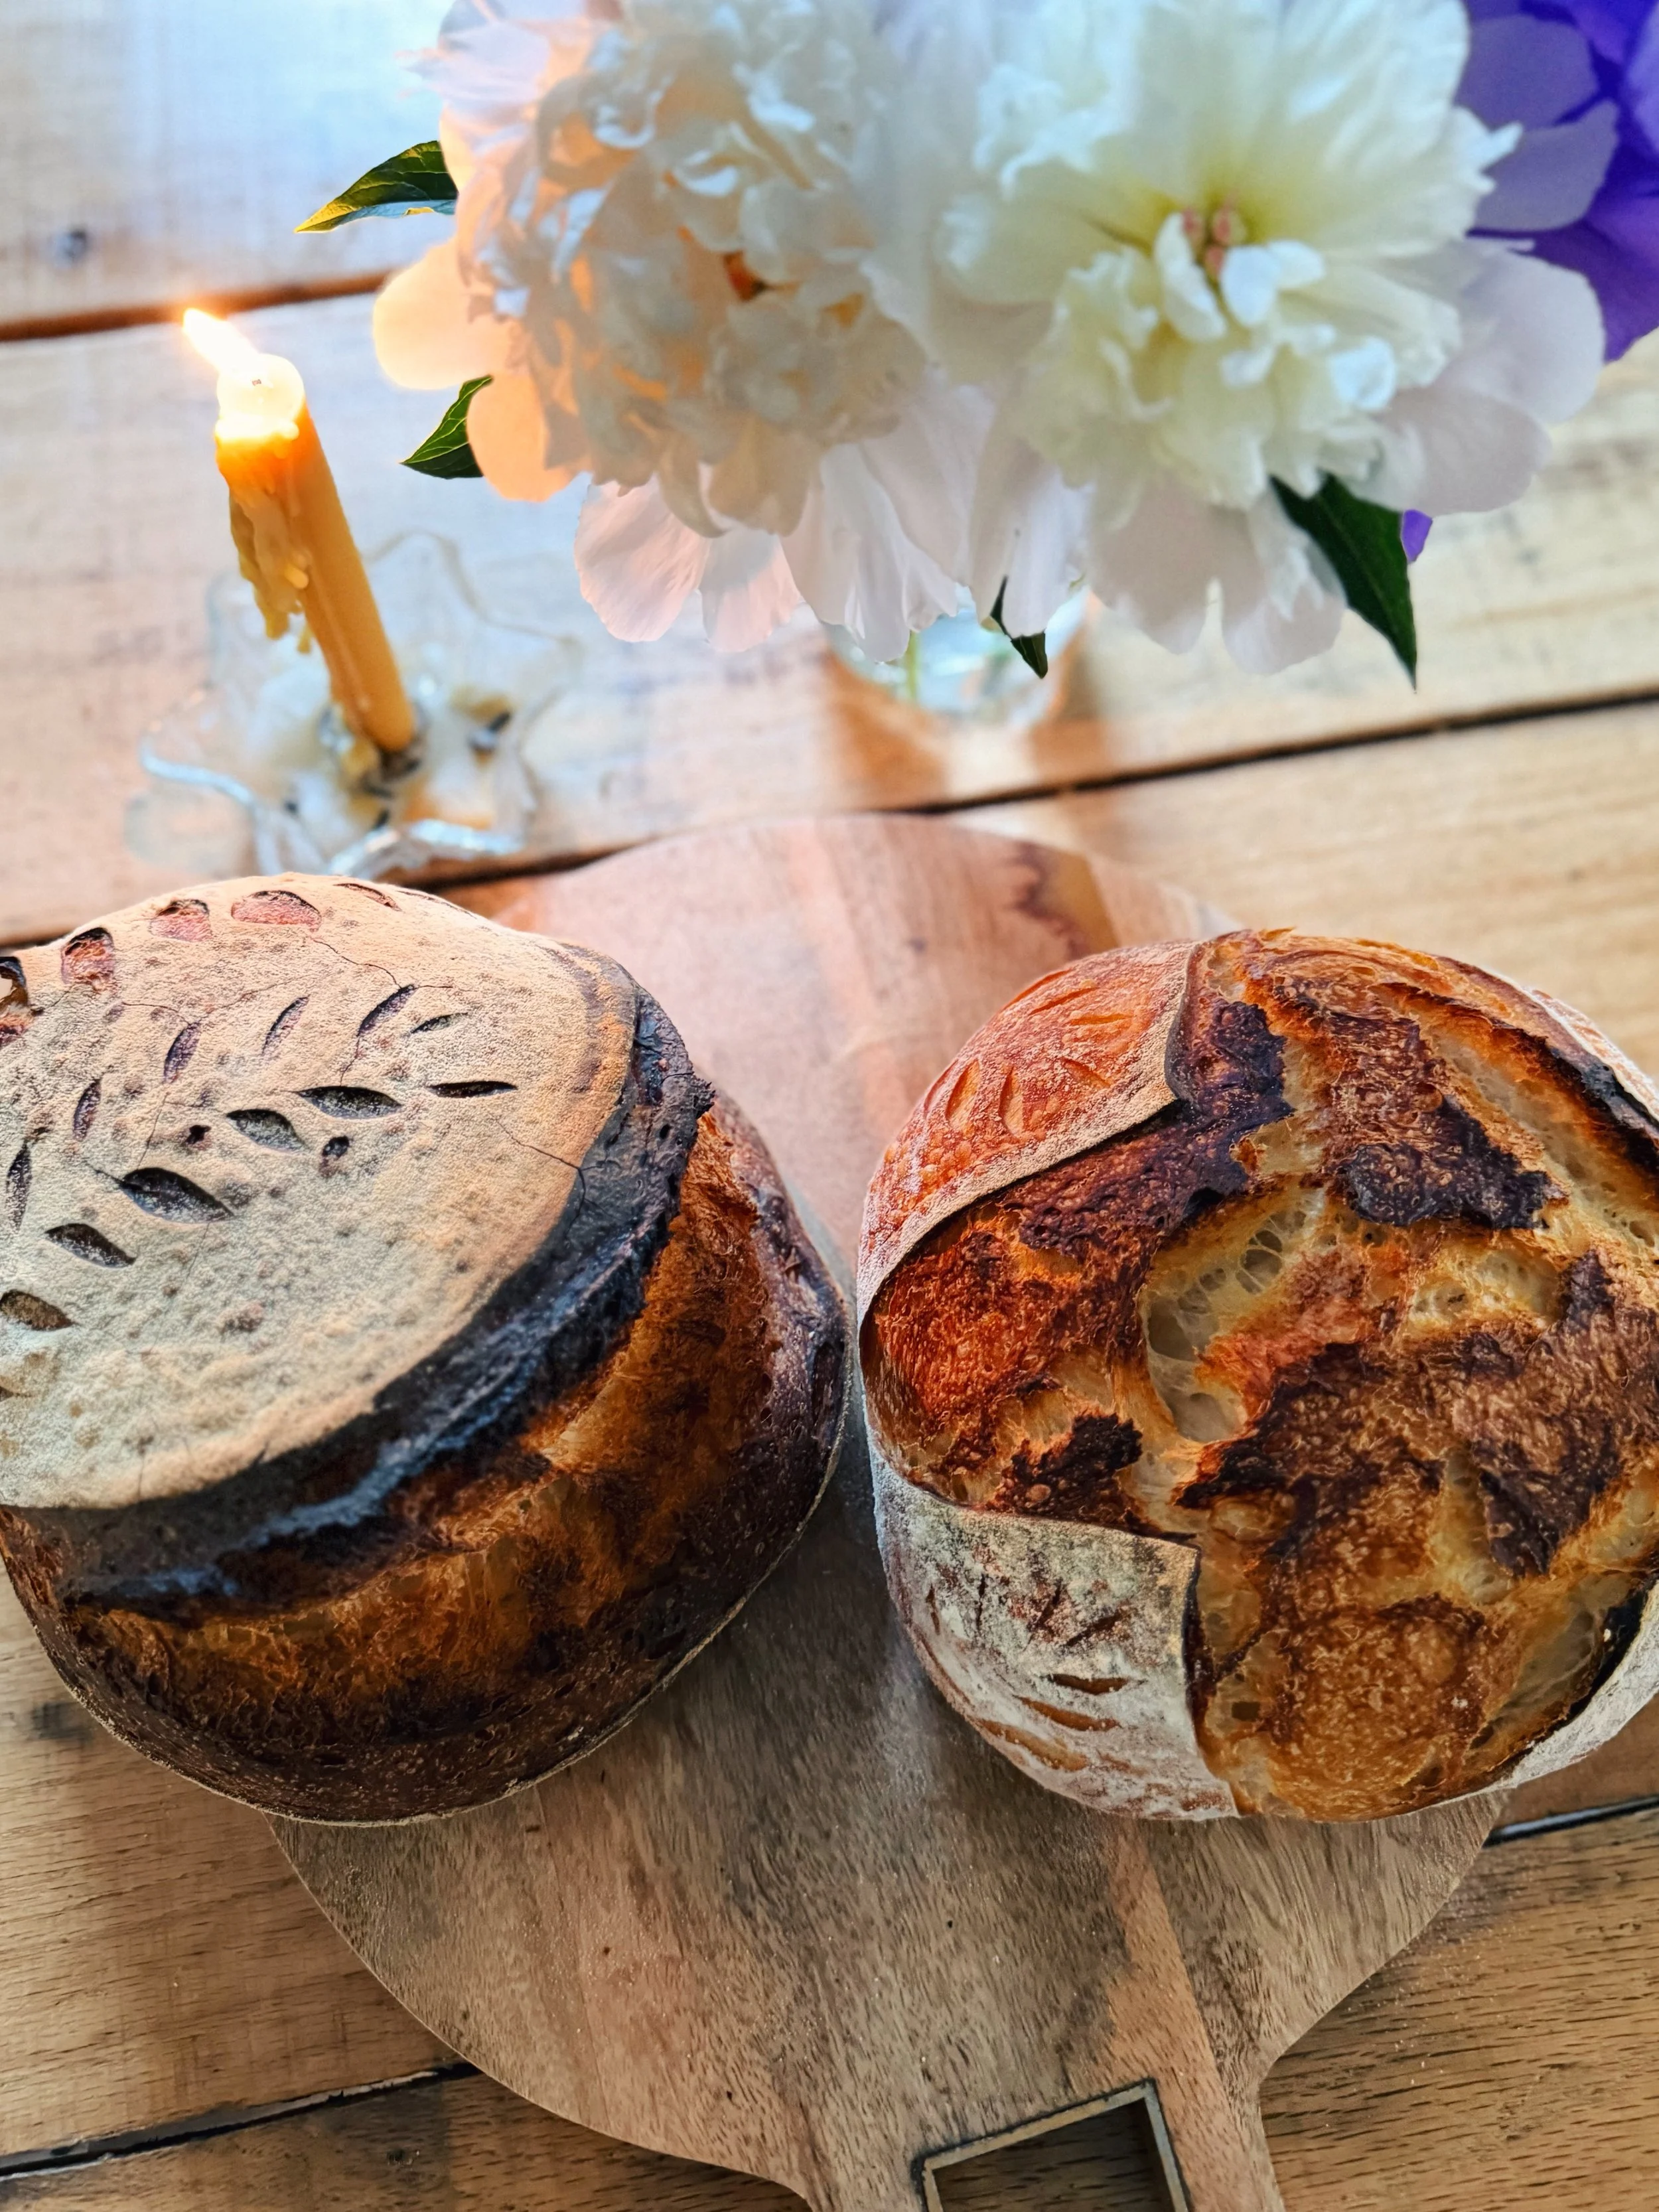
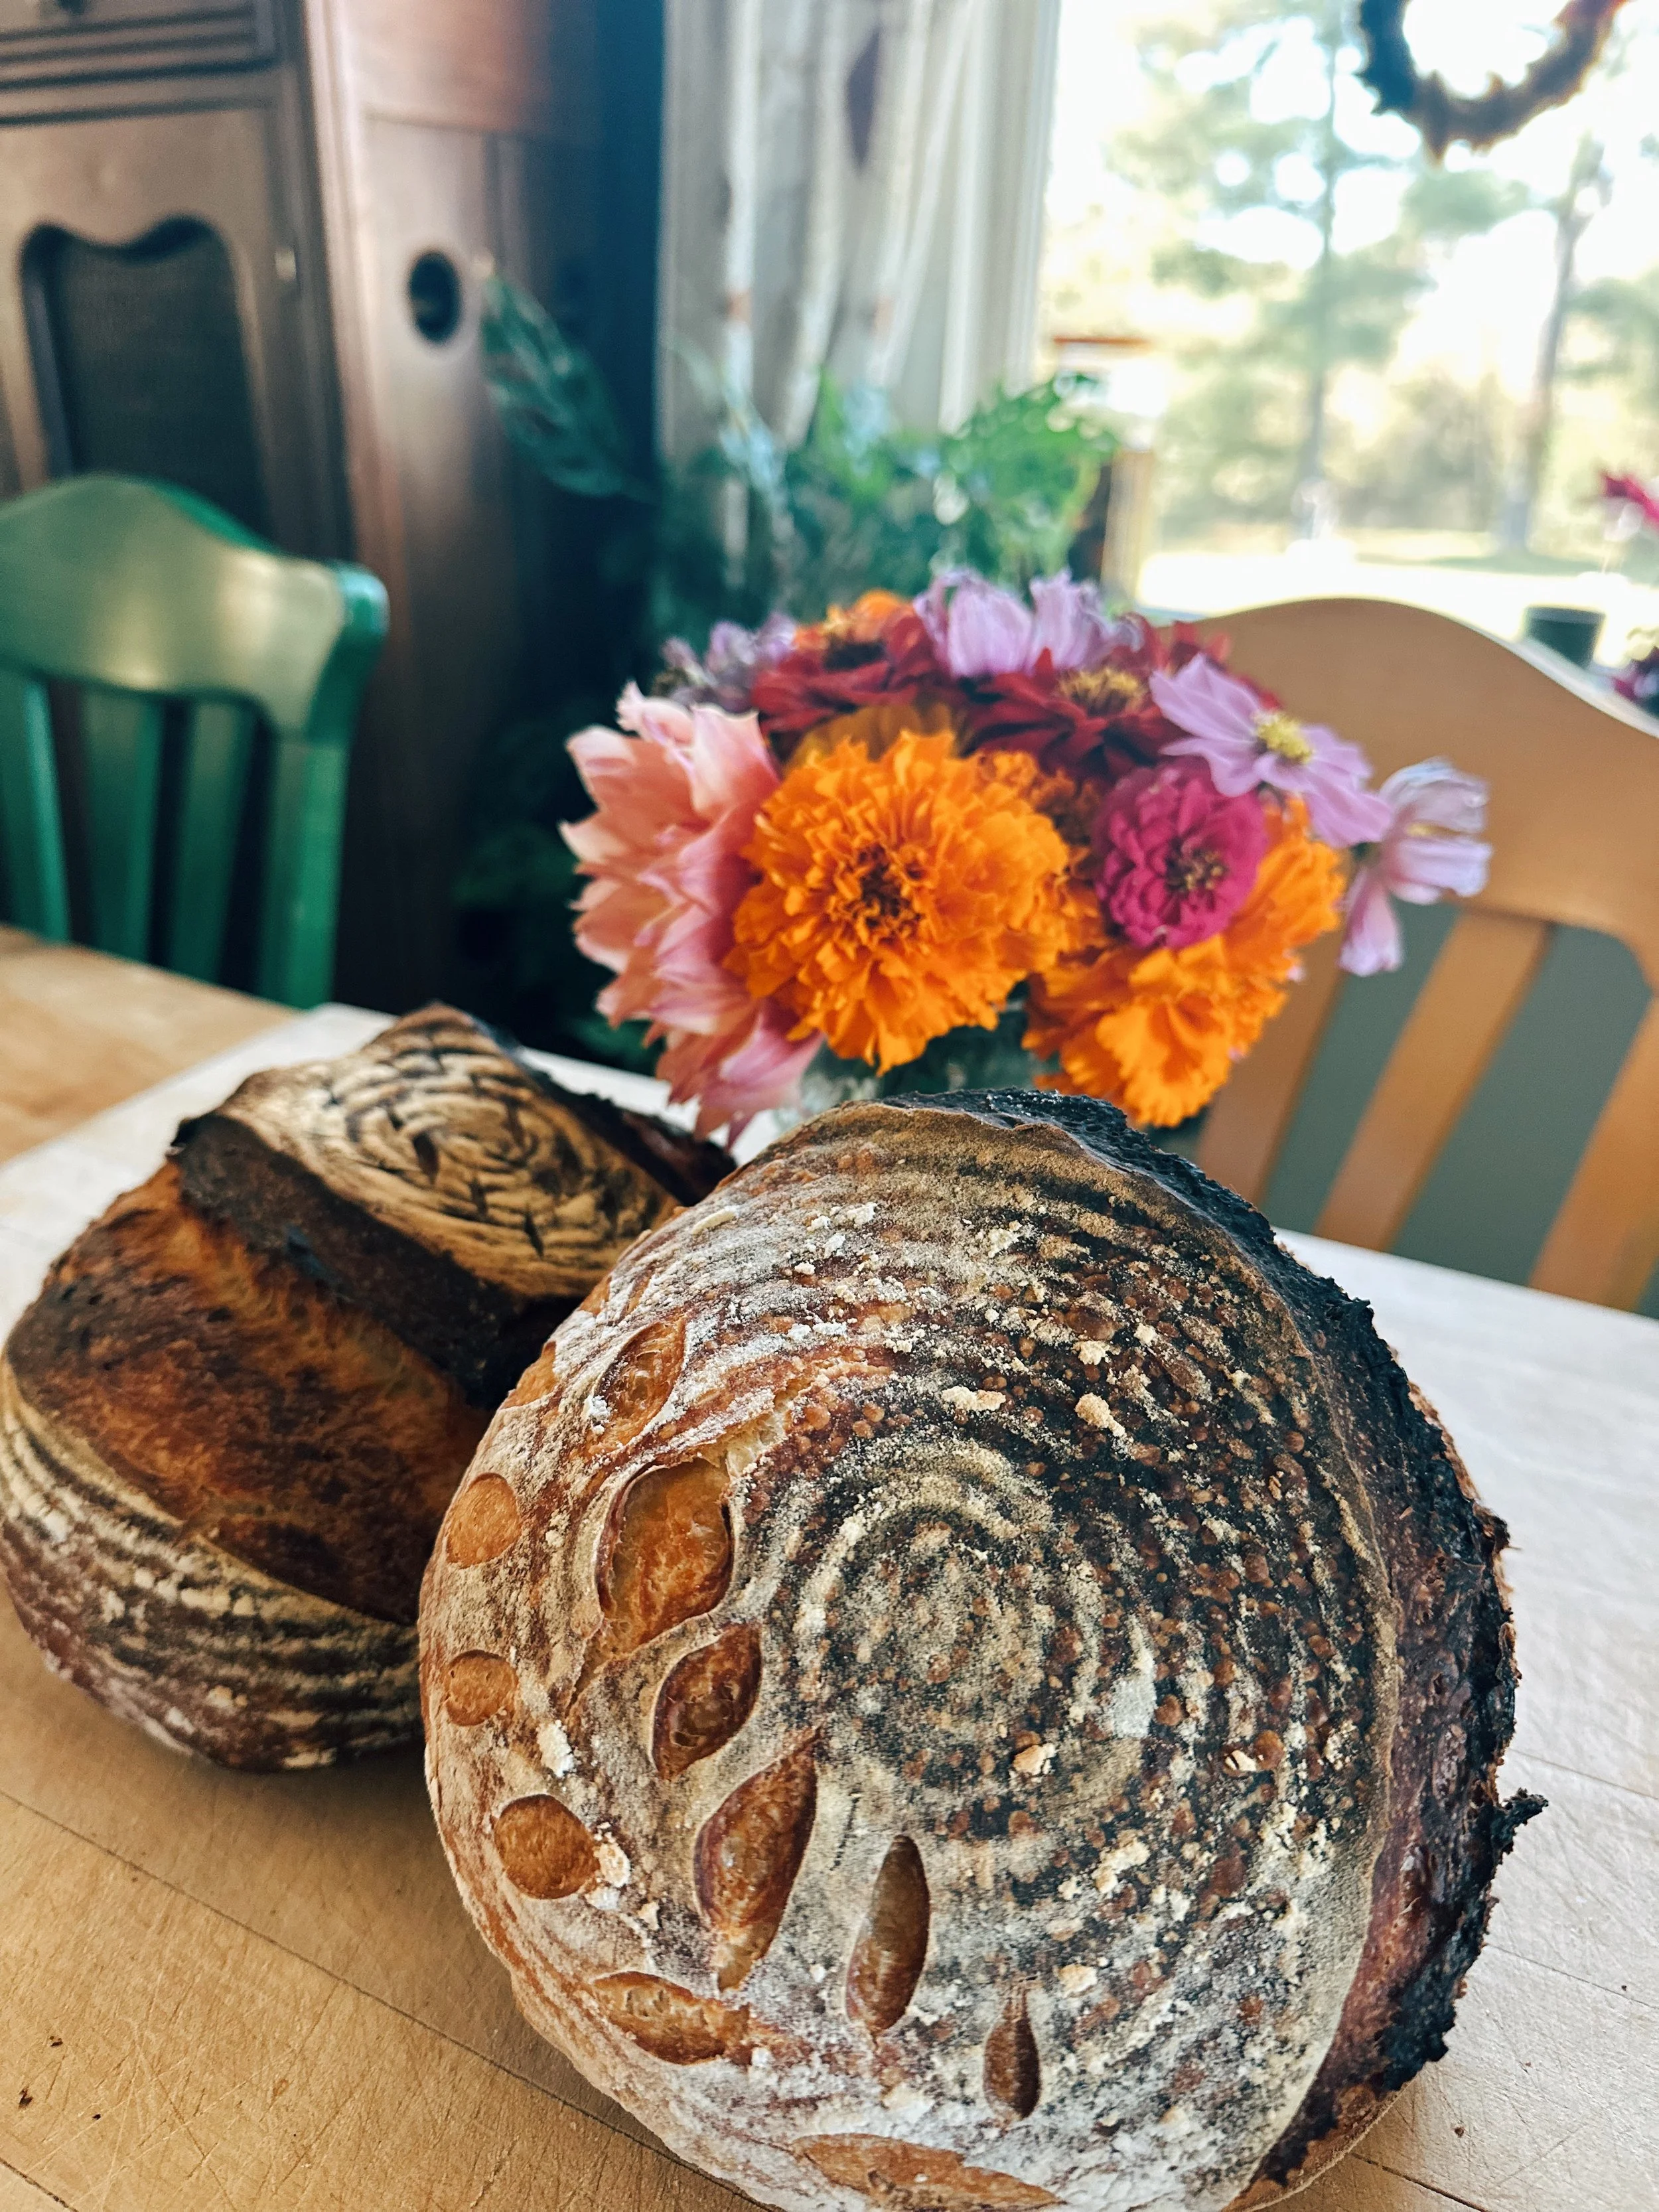
This recipe will make 2 smaller artisan loaves or 1 huge one. I always make 2 smaller loaves and keep one to eat and one to freeze.
Materials:
Dutch oven with a lid
Parchment paper
Sourdough tools - banneton baskets, plastic scraper, metal scraper, scoring lame - get the whole kit here on my Amazon storefront!
Instructions:
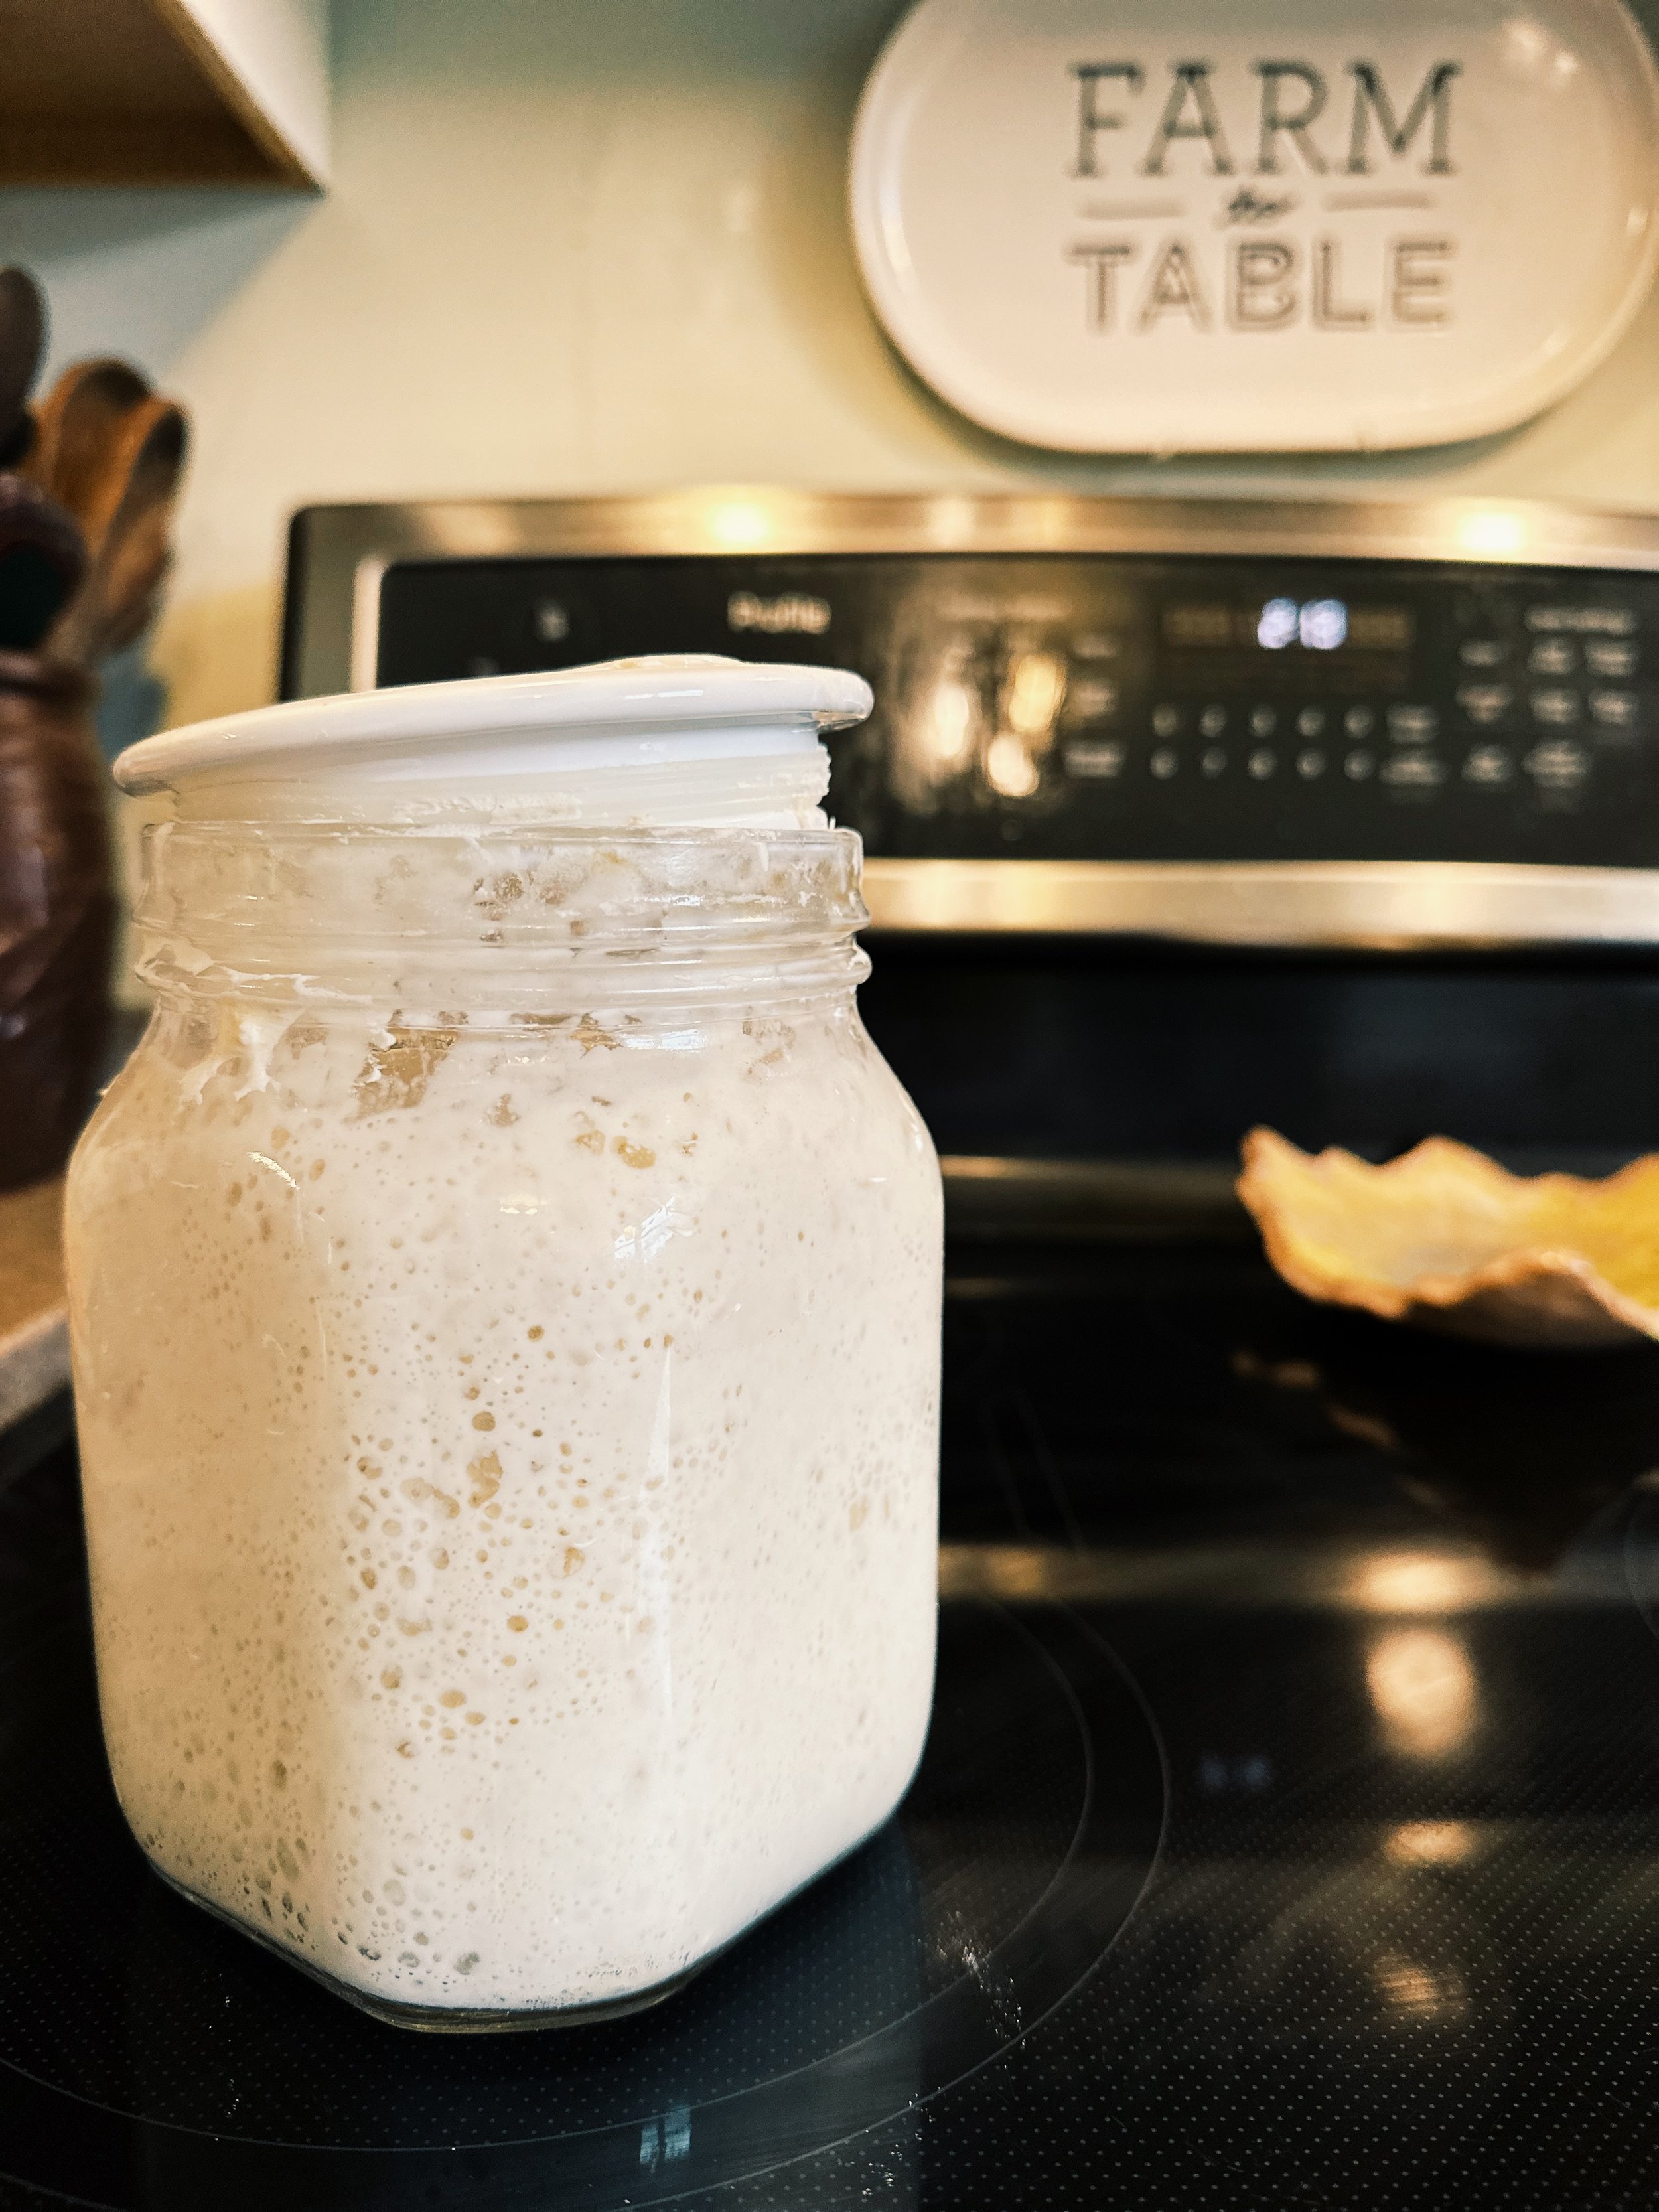
1) Make sure your starter is active and bubbly and happy. I usually feed mine the night before at a 1:4:4 ratio (50g starter, 200g organic bread flour, 200g water) to make sure it’s ready for making dough in the morning. If you don’t have a starter, you can buy my dehydrated sourdough starter, Rosie! I can mail it anywhere in the U.S., and it comes with rehydrating instructions.
Here’s what a happy, active starter looks like when it’s ready to be baked with…
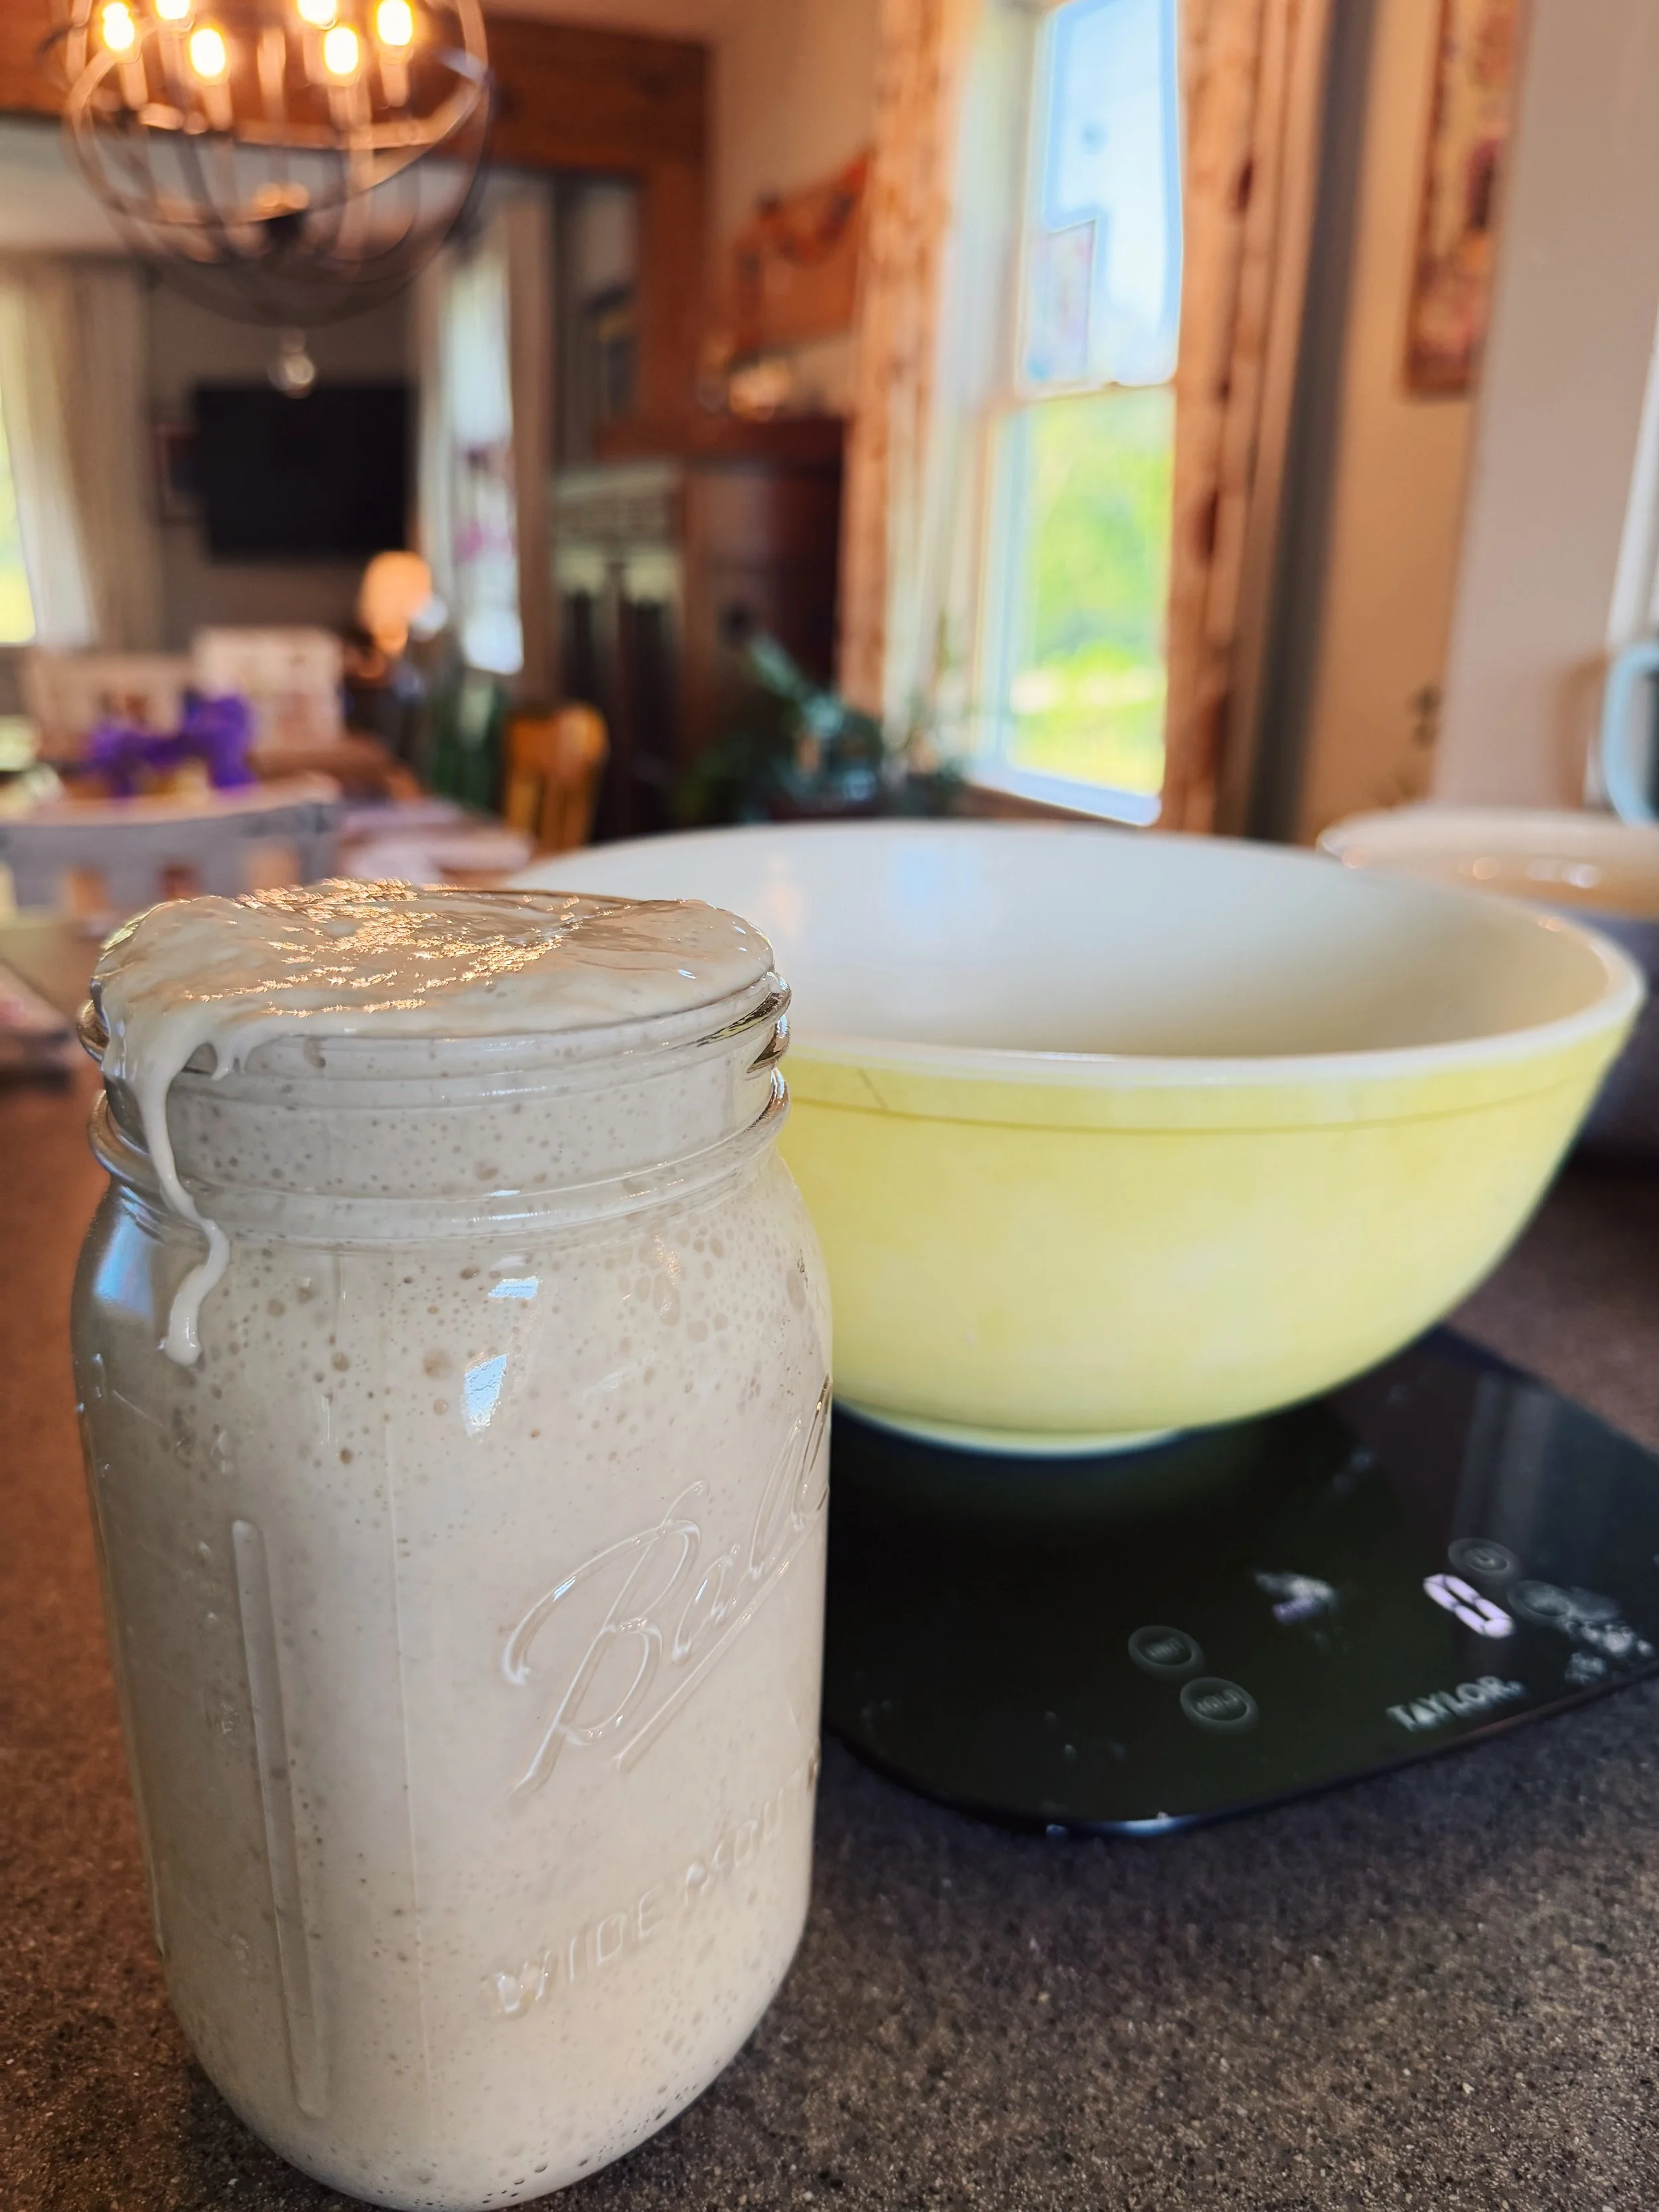
2) Grab your scale and place a large mixing bowl on top. Add starter and water and whisk it together to dissolve. It’s OK if there are a few clumps. Add flour and salt.
4) Mix ingredients into a rough dough. I like to stir it first with a wooden spoon, then use my plastic scraper to make sure I get all the bits off the side so it comes together into a rough ball.
5) Dampen a clean dish towel and place it over the bowl. Let it sit for 15 minutes to let the dough hydrate.
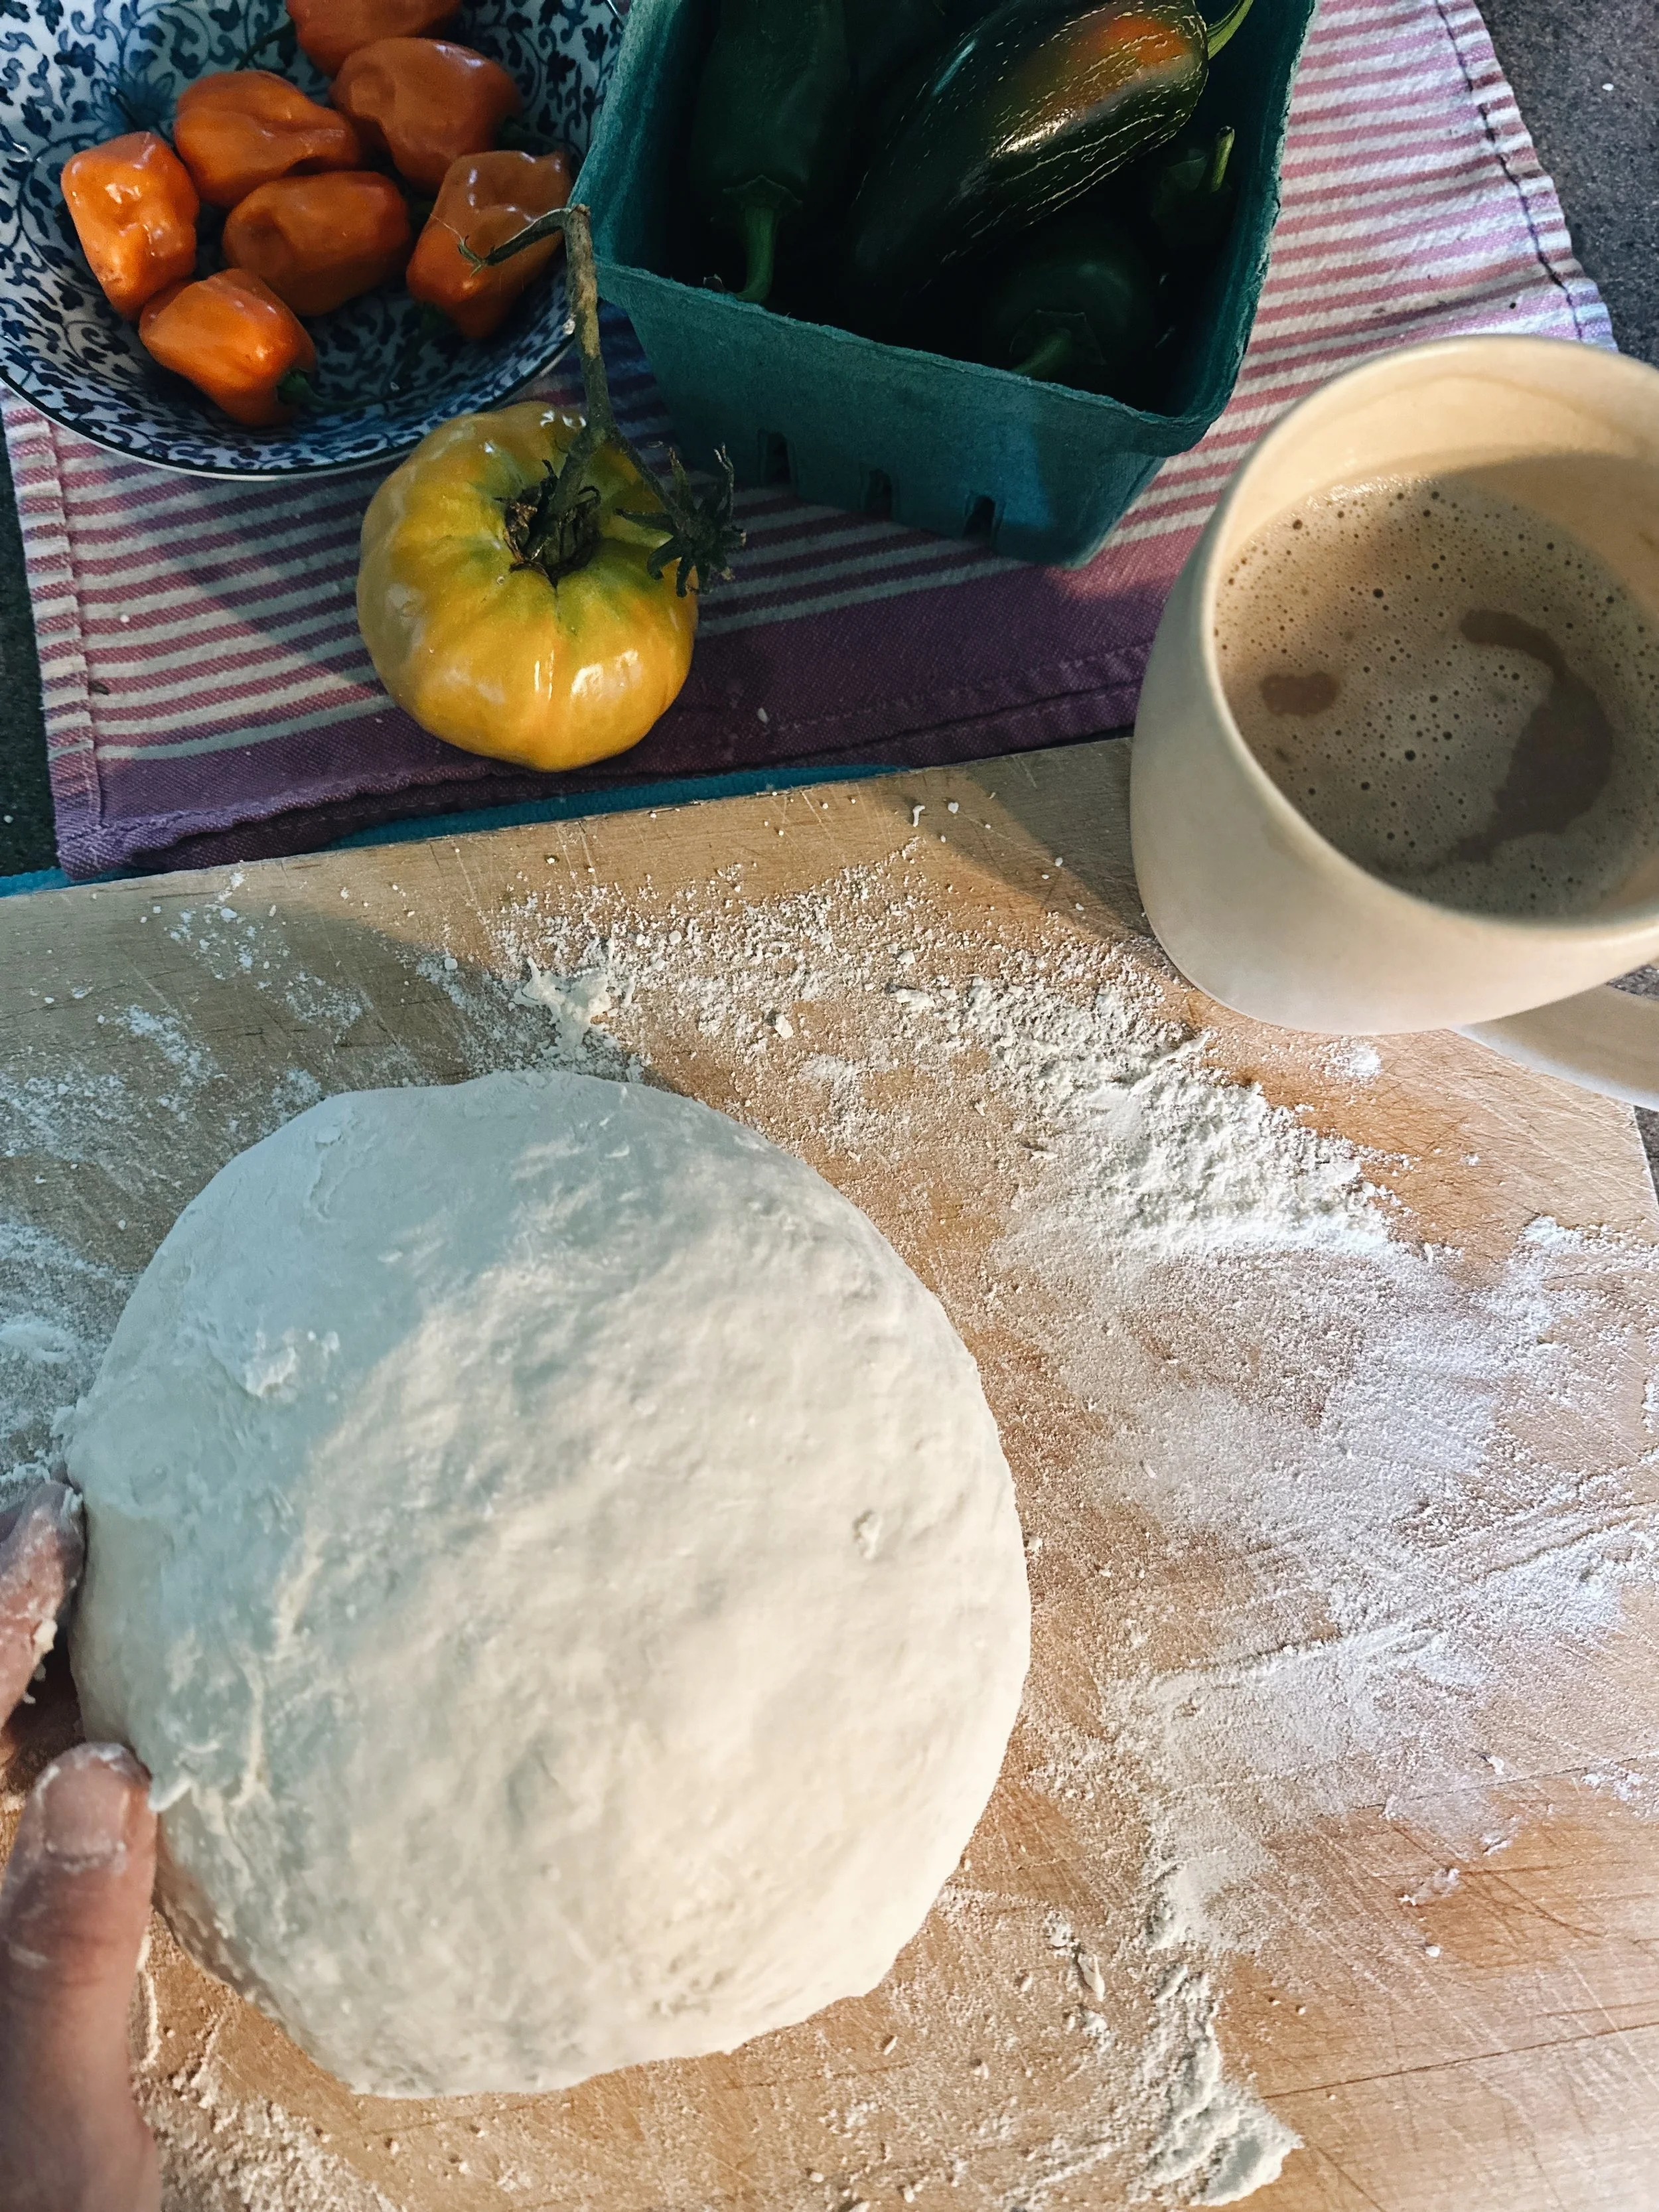
6) After 15 minutes, turn the dough onto a cutting board or countertop dusted with flour. Work your dough by gently kneading it and folding it over itself to ensure that everything is mixed together well. You’ll feel it get smoother as it starts to come together. Shape it into a ball and place it back into the bowl with the damp dish towel on top.
7) Time for the long proof. If your house is cold, I recommend putting your bowl into an oven TURNED OFF with just the oven light on. Put it on the lower rack so it’s not too close to the light, and the light alone will provide a little warmth for your dough to rise. If not, you can just leave it on your countertop to proof.
8) Within the first hour or so of proofing, I do a few “stretch and folds.” I usually do the first one within about 30 minutes. I simply stretch and fold the dough 1 complete time around the bowl, replace the damp towel, and walk away. Then I do this 2-3 more times whenever I think of it within the 1-2 hours - I’m not super strict with it, just whenever I remember. This builds structure in the dough and makes a way better bread loaf. (There are about a million videos online of how to stretch and fold - here’s a quick one.)
9) When your dough is done proofing (at least 5 hours later - sometimes it takes 8+ hours for me, depending on temperature), it should have increased by 50-75% in volume. When you jiggle the bowl, it should jiggle like a giant marshmallow. 😂 It shouldn’t feel super sticky or gooey. I peek in on my dough several times during the proofing process to see how it’s going.
10) Use plastic scraper to gently turn your jiggly dough onto a lightly floured surface. If you’re making 1 giant loaf, proceed. If you’re making 2 smaller loaves, use your metal scraper to cut the dough in half (I don’t measure this, just eyeball it). Shape each dough into a ball: lay out the dough and shape it gently into a rough rectangle, then fold it up like an envelope. Flip it over and make sure the ends are tucked under so it forms a tight ball shape. This video is a great example of how to do it.
11) Grab your banneton baskets. (I use mine without the cloth lining, because I didn’t like the design the lining made on my bread.) Sprinkle inside of basket with rice flour or regular flour so your dough doesn’t stick. Sprinkle a little bit of rice flour on the top of the dough ball, gently rubbing it over the surface so it coats the surface. Turn dough ball upside down and place it in the bannetton, seam side up. Pinch the seam together a little bit more.
12) Cover your basket(s) again with the damp towel and let proof on the countertop for about 45 more minutes.
13) Take off the towel and place both baskets - yes, uncovered - in the fridge overnight to cold proof. If you really feel you need to cover it, some people use a plastic shower cap. Cold proofing develops the flavor more and makes it easier to score your dough in the morning.
14) First thing the next morning, turn on your oven to 450 degrees. Place dutch oven inside with the lid on so it can preheat. Once your oven is preheated, remove your banneton basket from the fridge (one at a time if you’re doing more than one loaf). Lay out a piece of parchment paper on your countertop and flip your basket over onto the parchment so the dough ball comes out, seam side down. It should release easily without sticking.
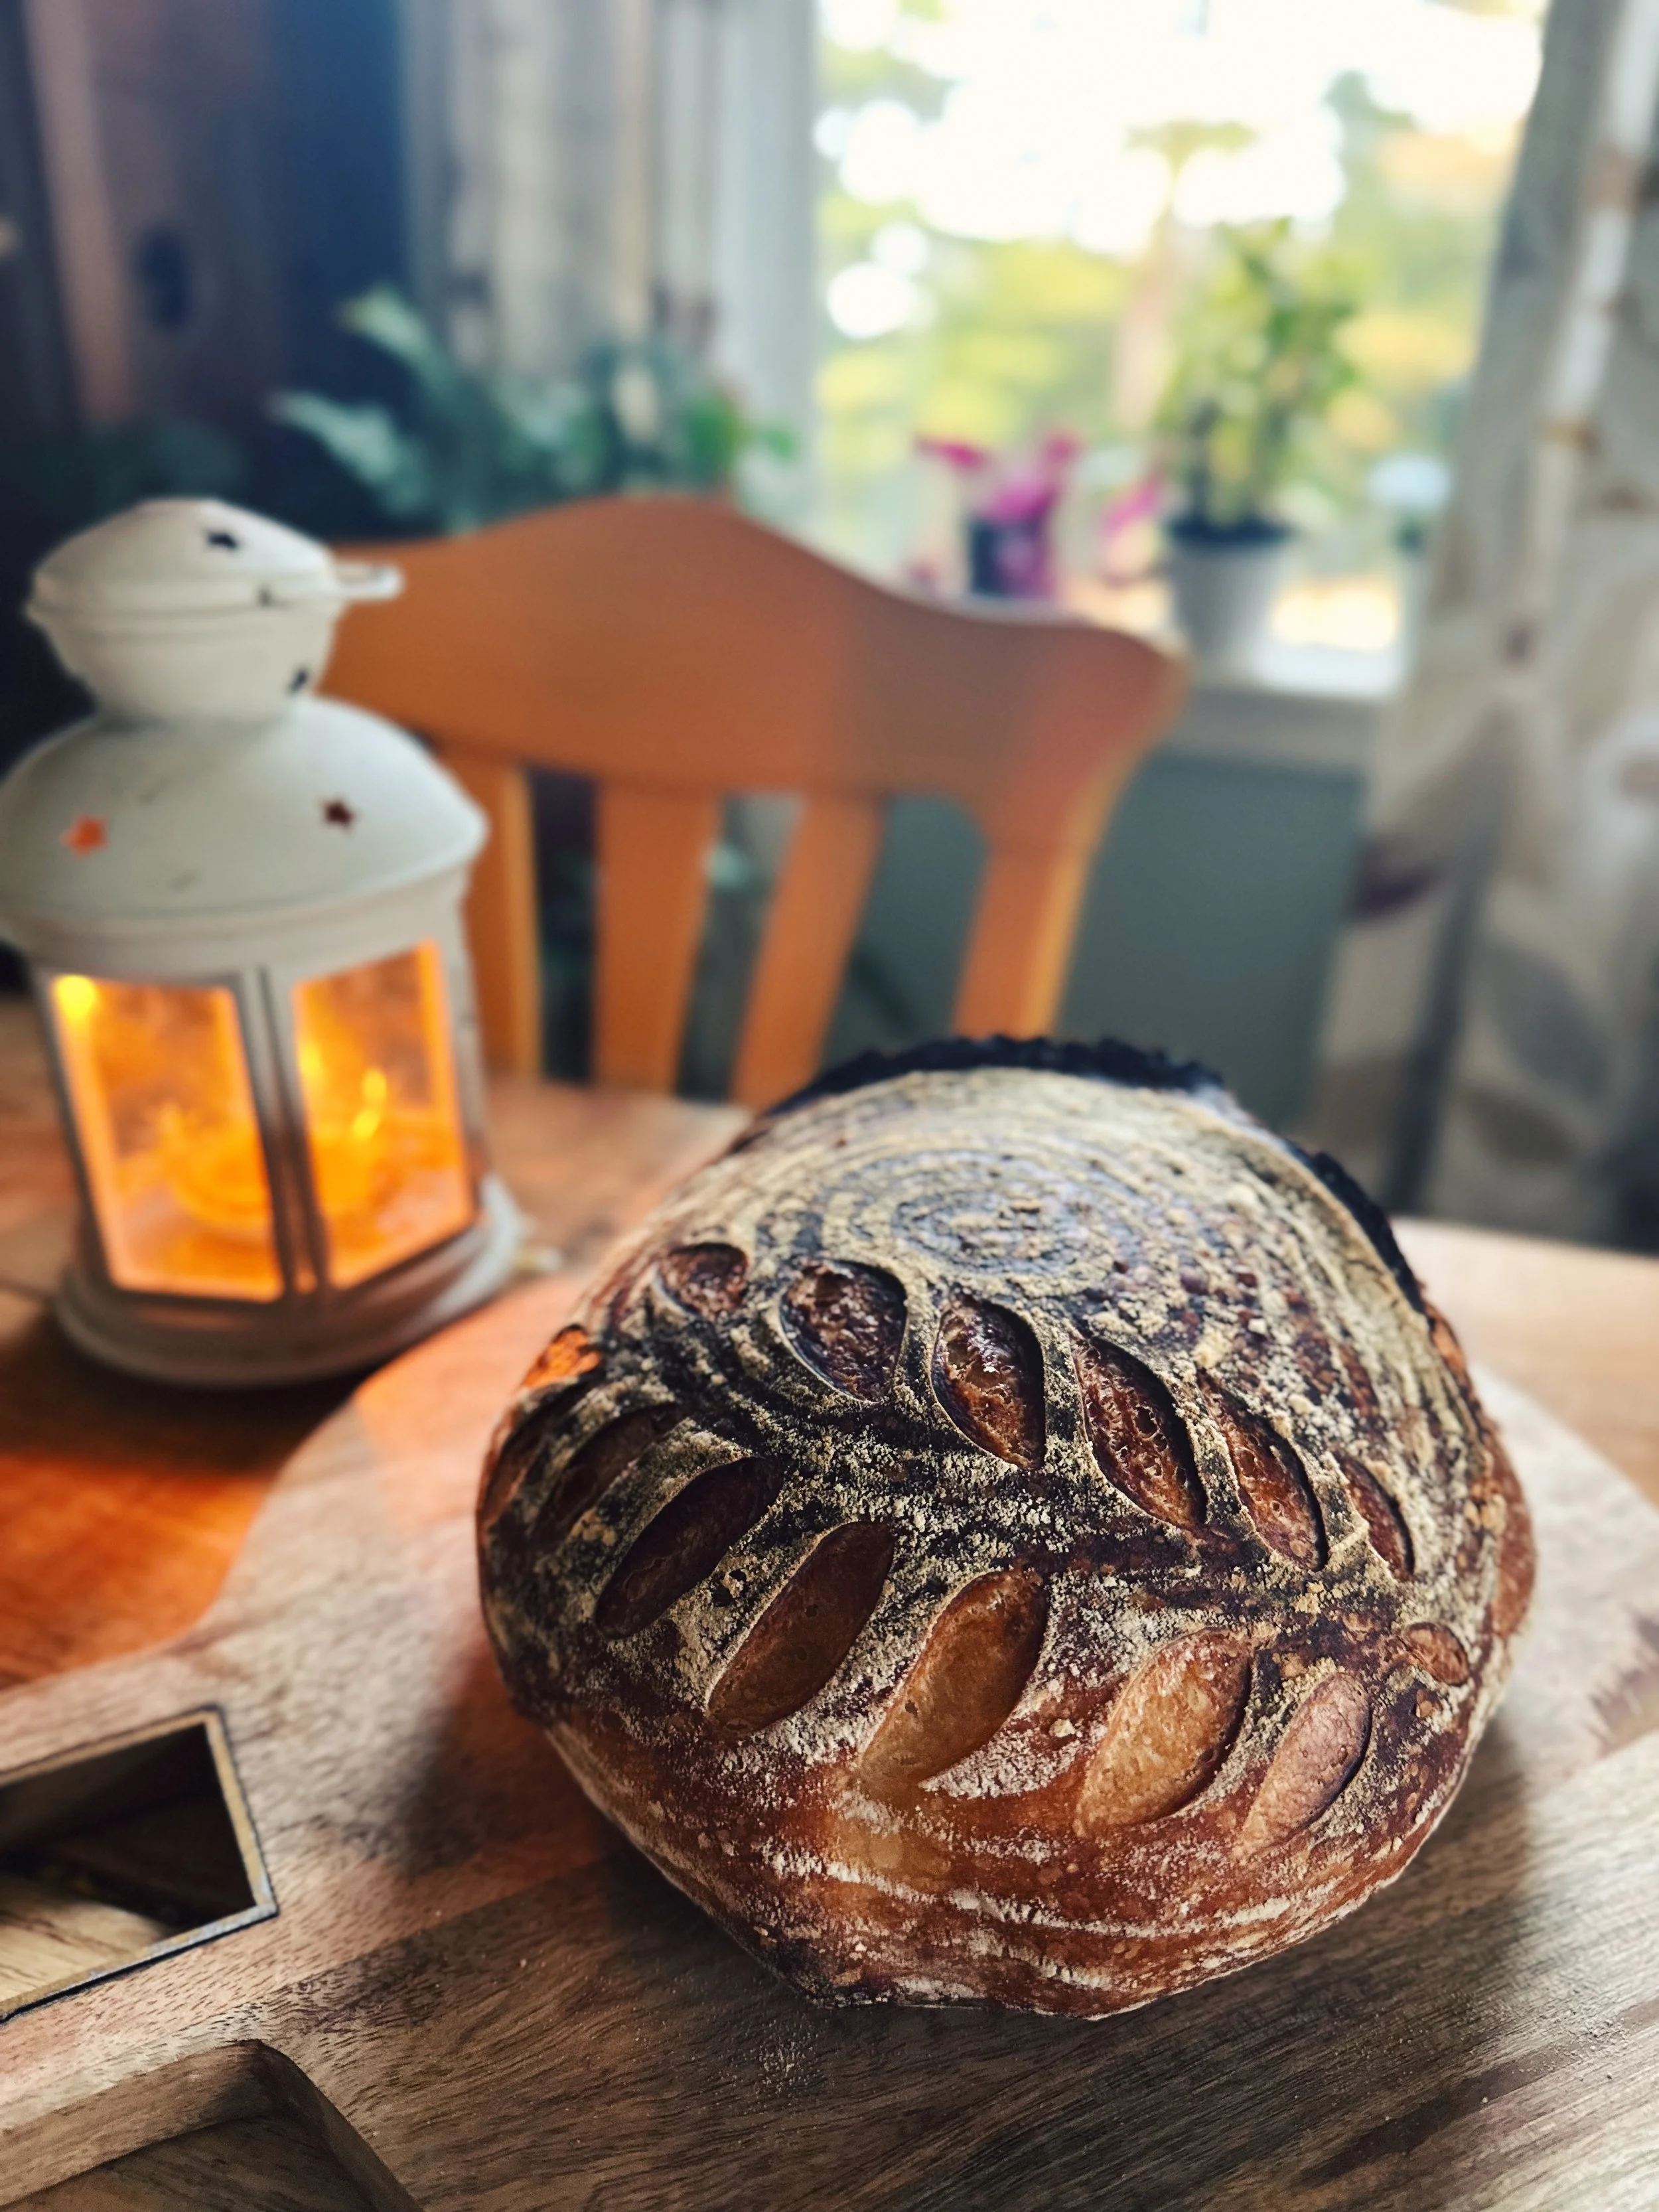
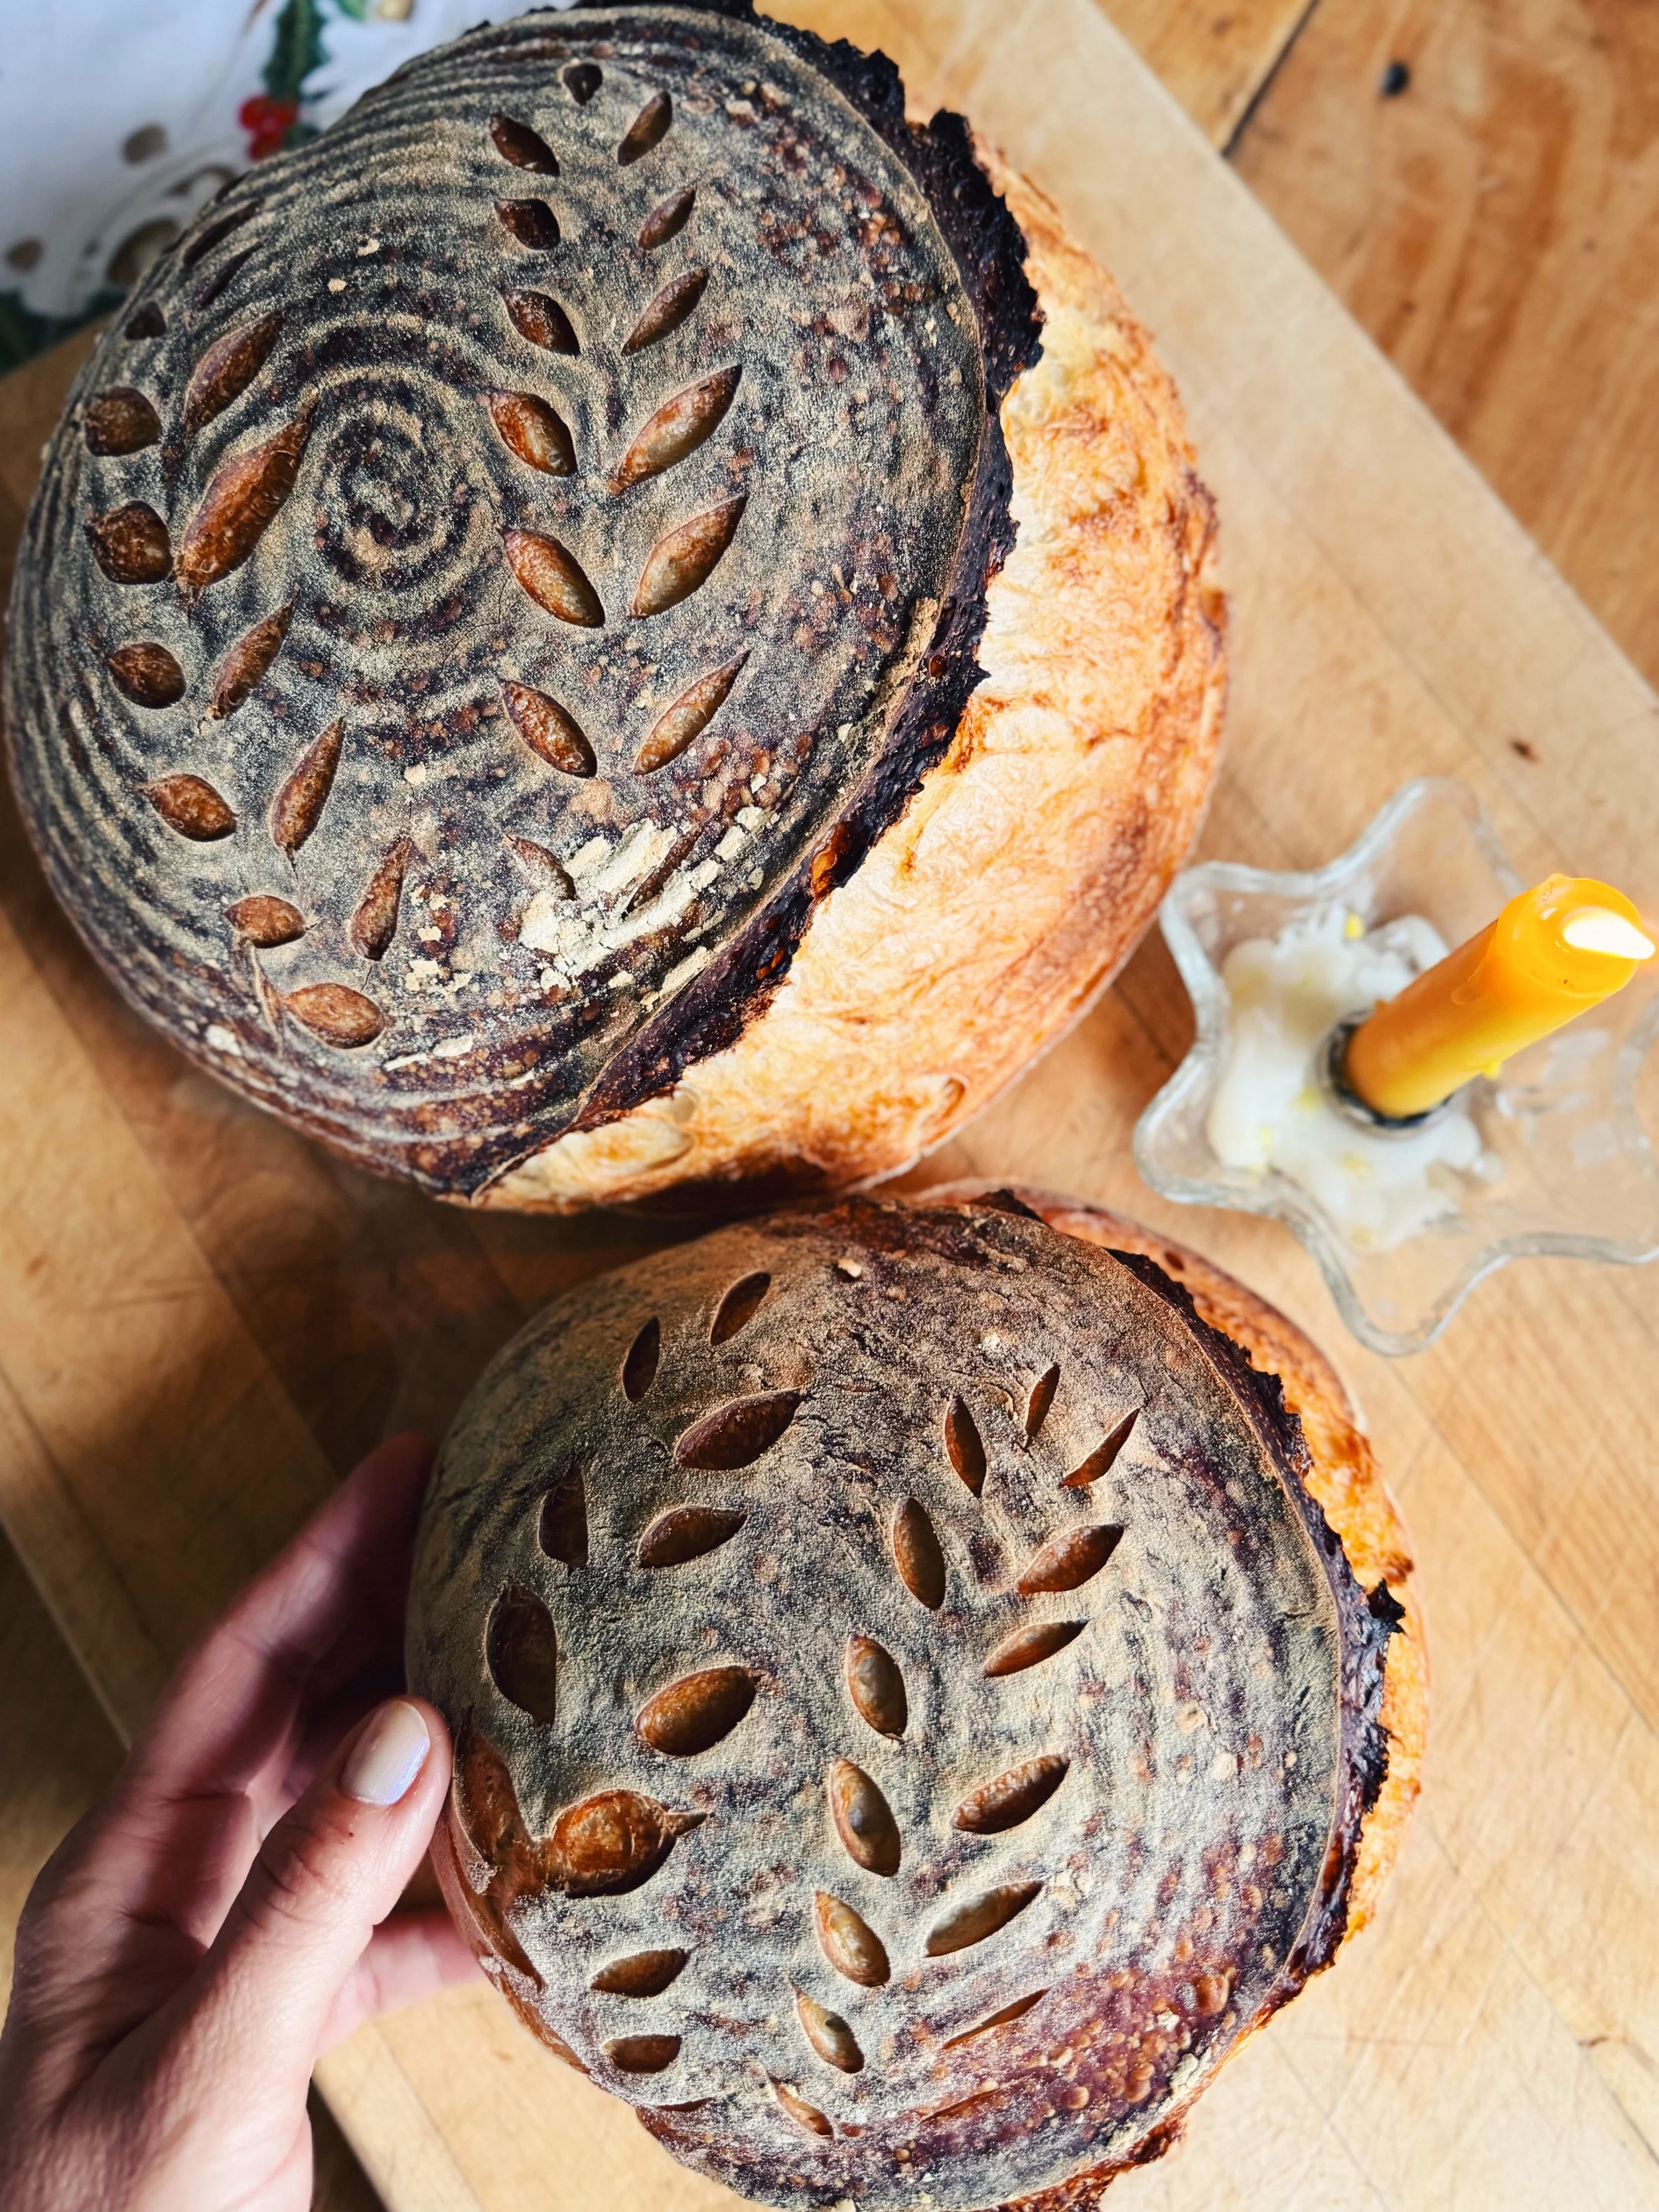
15) Lightly brush off any excess flour and score your dough. I usually do a half-moon shape cut (1 inch deep or so) along the side at about a 45 degree angle, or two deep cross-shaped cuts down the middle. The deep cuts are what gives your bread a good crusty “ear.” Then you can add lighter surface cuts if you want for design.
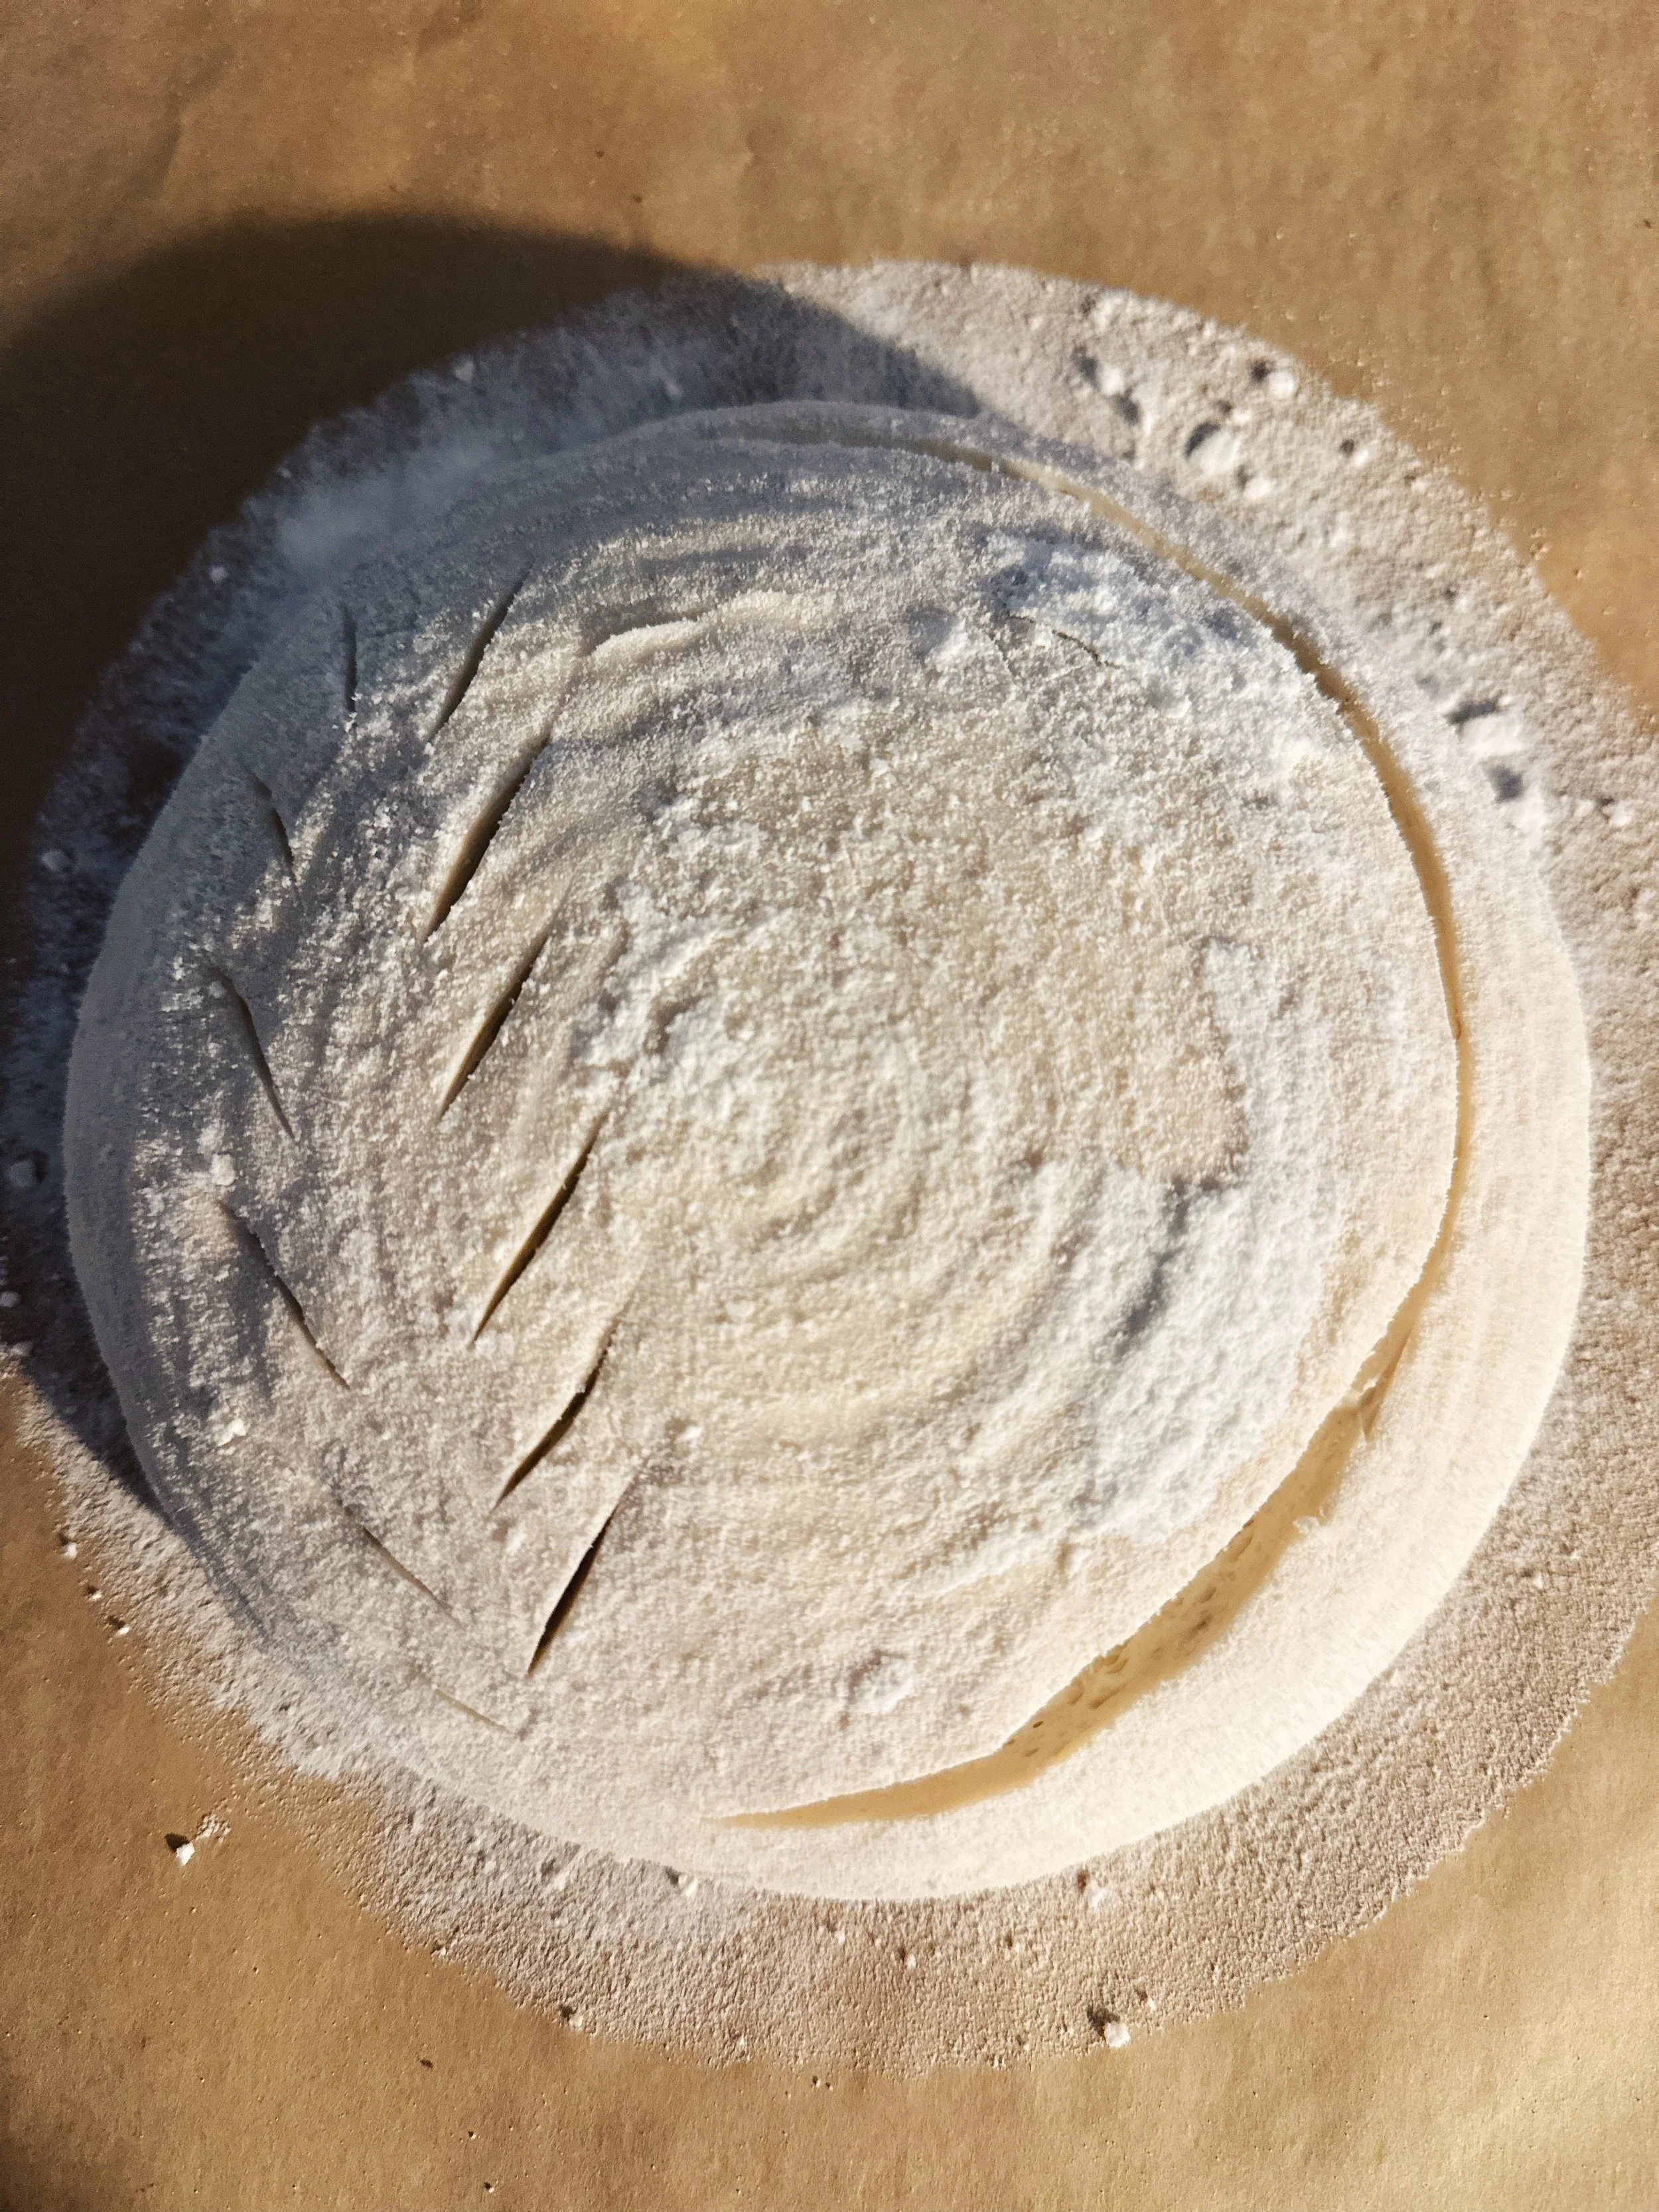
16) Time to bake! Open oven and remove lid of dutch oven. Pick up entire parchment paper with dough ball on it and place it inside the dutch oven. Replace the lid and bake with lid on for 30 minutes. Remove lid and bake for 10 more minutes for a lighter crust and 15 more minutes for a darker crust.
Remove your gorgeous bread from the oven and let cool before slicing!
Repeat baking process with the second dough ball, if you have one in the fridge. Use fresh parchment paper each time.
Sourdough tools I love:
Everything on this Amazon list.
Beeswaxed bread bags from Five Oaks Farm - this is what I store my sourdough in on the counter so it stays fresh.
Reusable freezer storage bags from Five Oaks Farm - these are so perfect for freezing extra sourdough loaves - they stay safe in the freezer and then i just take the bag out and lay it on the counter to defrost and you can store it in in too. I also store sourdough English Muffins in these freezer bags when I make a large batch.
More recipes I regularly make with sourdough:
P.S. I still love the Easiest Bread Recipe Ever! That recipe is great for a quick same-day bread and uses packaged yeast rather than wild yeast (sourdough). It still works in a pinch or when you just want to quickly learn to make bread and feel successful at it. But once you have the hang of that, try jumping into making sourdough - not just for the better depth of flavor but also for the many health benefits.
Bake with a little bit of Kindred Farm love in your home! Get ”Rosie” the sourdough starter - 10g of dehydrated sourdough starter flakes made from the very starter we use in our farmhouse kitchen, created from scratch right here at Kindred Farm. She’s ready for you to activate and start baking!